Integrate with Microsoft Intune
In this topic, you will learn how to set up the integration between Portnox™ Cloud and Microsoft Intune.
Integrate with Intune
In this section, you will set up the integration between Portnox™ Cloud and Microsoft Intune.
-
In the Cloud portal top menu, click on the Settings option.

-
In the Cloud portal left-hand side menu, click on the option.

-
Enable Microsoft Intune integration
-
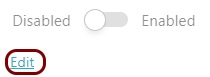
Under the MS Intune integration service heading and description, click on the
Edit link.
-
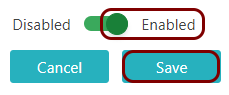
Click on the Disabled/Enabled switch to put it in the Enabled
position.
-
Under the MS Intune integration service heading and description, click on the
Edit link.
-
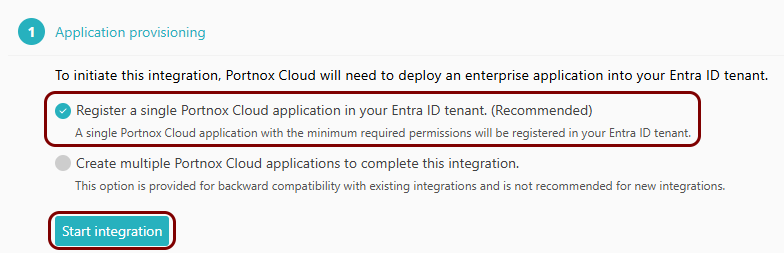
In the Application provisioning step, select the following option: Register a
single Portnox Cloud application in your Entra ID tenant. Then, click on the Start
integration button.
-
Grant the Portnox Cloud integration application consent to read Intune data and perform SCEP validation.
-
Click on the Grant consent button.

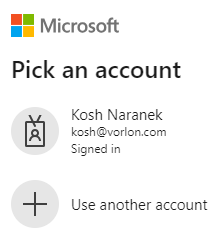
Your browser will display a Microsoft prompt to select an account.
-
Click on the admin account for your Azure tenant.
Your browser will display a Microsoft prompt asking you to confirm the required permissions.
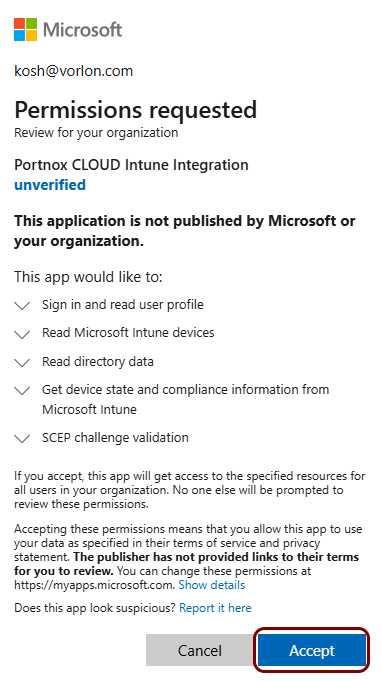
-
Click on the Grant consent button.
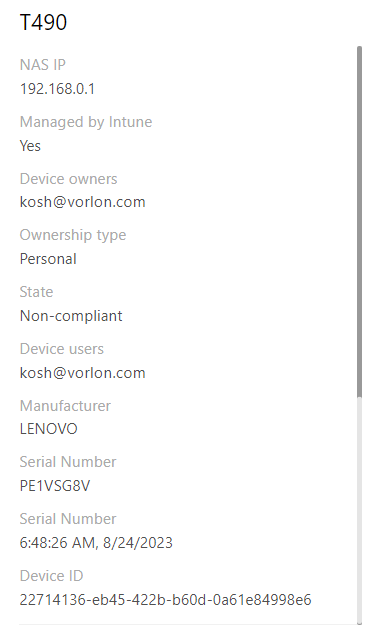
Result: Your Intune integration is now active.

You can see Intune-related information for specific devices on the Devices screen by selecting an Intune-managed device from the list and scrolling the right-hand side pane.
Automatically create Intune configuration policies
In this section, you will automatically create Intune configuration policies, which will let you skip manual onboarding.
-
Click on the Create configuration(s) button in the Intune
configuration section, which is located at the end of the MS Intune integration
service section.

-
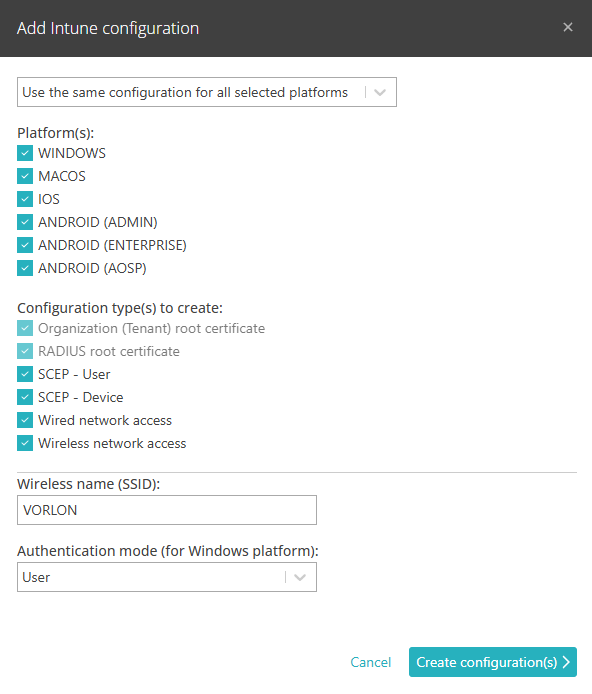
In the Add Intune configuration window, select the Platform(s) and
Configuration type(s) to create:
-
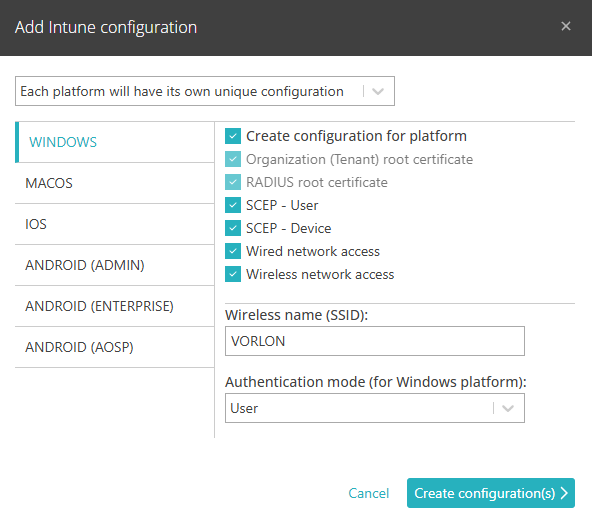
If instead of the default option: Use the same configuration for all selected
platforms, you chose the option: Each Platform will have its own unique
configuration, you can then choose different configuration types for each platform
(including different SSIDs and authentication modes).
-
If instead of the default option: Use the same configuration for all selected
platforms, you chose the option: Each Platform will have its own unique
configuration, you can then choose different configuration types for each platform
(including different SSIDs and authentication modes).
-
Click on the Create configuration(s) button.
You will be asked to authenticate with Intune, and then Portnox Cloud will automatically create the configurations.
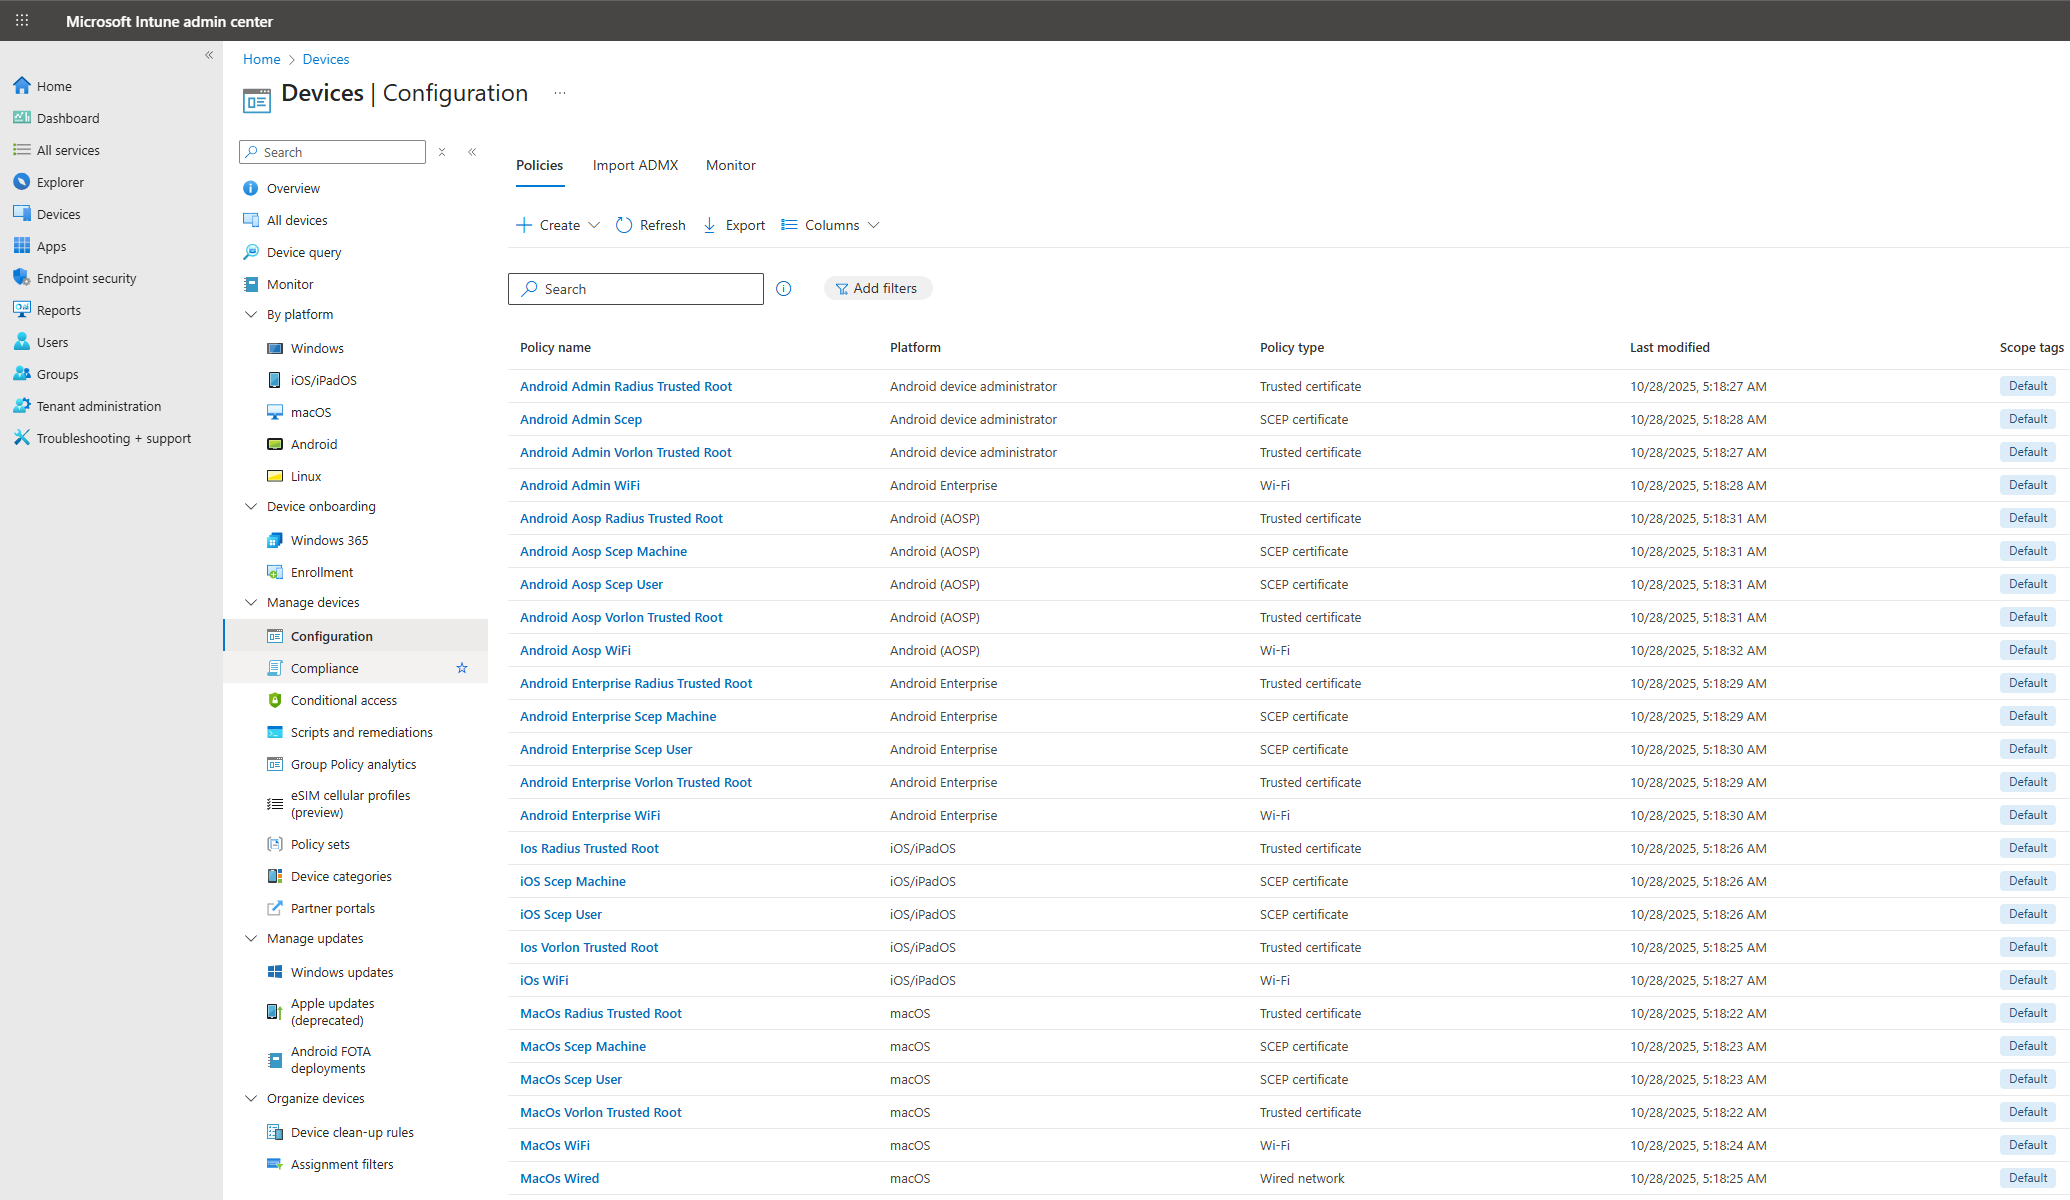
The configurations will have the following names:
Configuration type Configuration name RADIUS root certificate platform_name Radius Trusted Root Organization (Tenant) root certificate platform_name tenant_name Trusted Root Wireless network access platform_name WiFi Wired network access platform_name Wired SCEP - User platform_name Scep User SCEP - Device platform_name Scep Machine You can see the configurations in Intune by going to: .
Manually link configurations in Intune
In this section, you will manually link the automatically created configurations in Intune.
Perform the steps in this section only if you created configurations automatically according to the instructions in the previous section.
-
Link the SCEP policies to the tenant root certificate policies.
Perform the following steps in each policy named platform_name Scep User and platform_name Scep Machine.
-
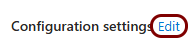
Scroll all the way down to the Configuration settings section and click on the
Edit link.
-
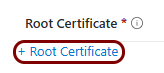
In the Root Certificate section, click on the + Root
Certificate link.
-
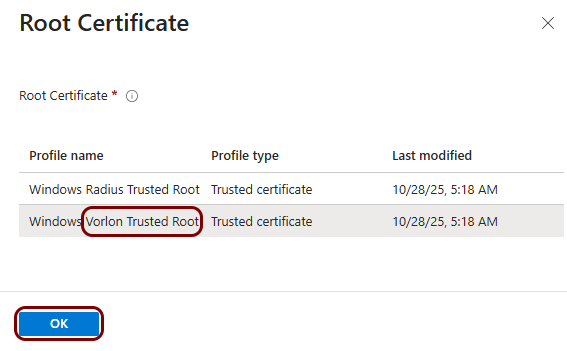
In the Root Certificate pane, click on the platform_name
tenant_name Trusted Root row, and then click on the
OK button.
-
Scroll all the way down to the Configuration settings section and click on the
Edit link.
-
Link the network policies to the RADIUS root certificate policies and SCEP policies.
Perform the following steps in each policy named platform_name WiFi and platform_name Wired.
-
Scroll all the way down to the Configuration settings section and click on the
Edit link.
-
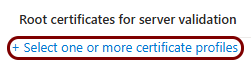
In the Root certificates for server validation section, click on the
+ Select one or more certificate profiles link.
-
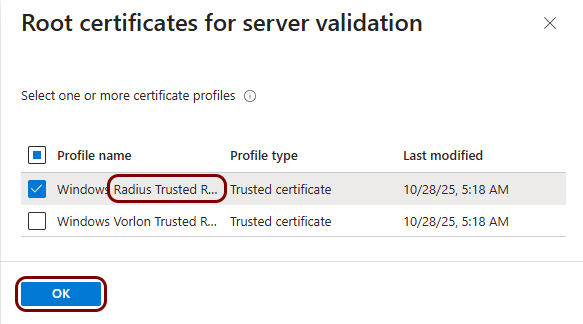
In the Root certificates for server validation pane, activate the checkbox in the
platform_name Radius Trusted Root row, and then click on
the OK button.
-
In the Client Authentication section, in the Authentication
method field, select the SCEP certificate option and then click on
the + Select a certificate profile link.

-
In the Client certificate for client authentication pane, click on the relevant row
depending on whether you want to authenticate users or devices, and then click on the
OK button.

-
Scroll all the way down to the Configuration settings section and click on the
Edit link.
Result: Your policies are now correctly linked together. The SCEP policies reference the tenant root certificate policies, and the network policies reference the RADIUS root certificate policies and the SCEP policies.