
Integrate with Intune using manual provisioning
In this topic, you will continue Portnox™ Cloud integration with Microsoft Intune using the manual provisioning method.
Before you continue, make sure you have already completed Entra ID integration. For instructions, see: Integrate with Microsoft Entra ID or Integrate with Entra ID using manual provisioning.
The steps in this topic create two separate app registrations in Azure: one for Intune device data access, and one for SCEP validation. These are separate from the app registration created during Entra ID manual integration, and mirror the same structure the automatic provisioning method uses. This gives you the benefit of independent, modular control over each app, for example, if you ever need to troubleshoot one integration without affecting the other, or assign different permissions to each down the line.
If you prefer a simpler setup, you have two alternatives: you can reuse the same Entra ID application you already created during manual Entra ID integration (see Integrate with Entra ID using manual provisioning) and add all four permissions covered in this topic to that single app instead of creating new ones, or you can create a single new app and assign it all four permissions (the two Intune permissions and the two Microsoft Graph permissions combined) rather than splitting them across two separate app registrations. Either approach works, but you lose the ability to manage the Intune and SCEP validation permissions independently of each other, or independently of your Entra ID integration.
-
In the Cloud portal top menu, click on the Settings option.

-
In the Cloud portal left-hand side menu, click on the option.

-
Enable Microsoft Intune integration
-
Under the MS Intune integration service heading and description, click on the
Edit link.

-
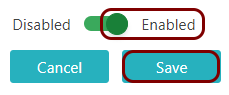
Click on the Disabled/Enabled switch to put it in the Enabled
position.
-
Under the MS Intune integration service heading and description, click on the
Edit link.
-
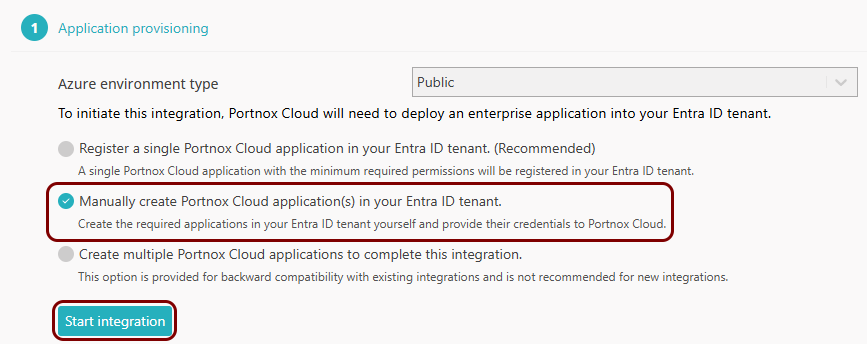
In the Application provisioning step, select the following option: Manually create
Portnox Cloud application(s) in your Entra ID tenant. Then, click on the Start
integration button.
Register the Intune application
In this section, you will create the Entra ID app registration Portnox Cloud uses to read Intune device data.
-
In the Azure Portal main menu, click on the Microsoft Entra ID option.
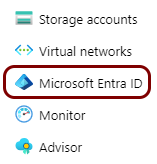
You can access the main menu by clicking on the icon in the top left corner of the Azure Portal.
-
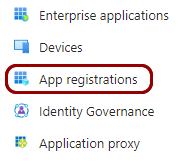
In the left-hand side menu, click on the App registrations option.
-
In the top menu of the Azure Portal App registrations screen, click on the New
registration option.

-
In the Register an application pane, enter
a name for the application and click on the Register button at the bottom of the page.
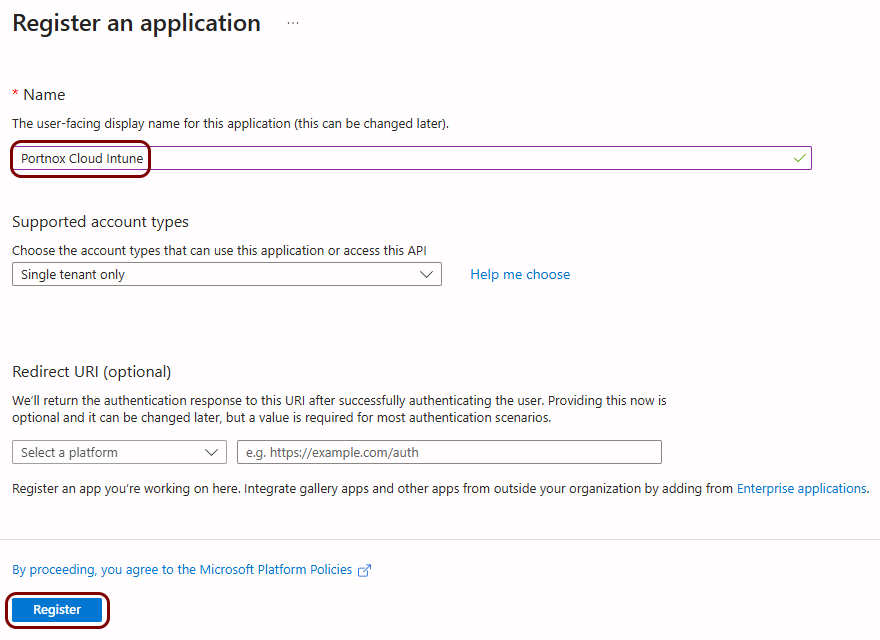 In this example, we used the name Portnox Cloud Intune, but you can use any name you like.
 -
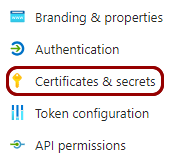
In the left-hand side menu of your application screen, click on the option.
-
In the right-hand side pane of the Certificates & secrets screen, click on the
New client secret option.

-
In the Add a client secret pane, add an
optional Description and select expiration time in the Expires field.
Then, click on the Add button on the bottom of the pane.
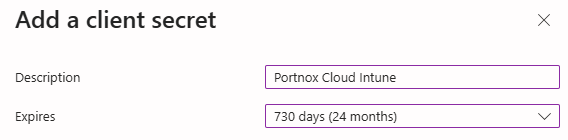
We recommend choosing the longest available expiration date (24 months) or a custom expiration date, so you don't have to revisit this configuration to generate new secrets.
-
In the right-hand side pane of the Certificates
& secrets screen, click on the copy icon next to the newly added secret.
 Important:Make sure to copy the value, not the ID. You will not be able to copy this secret later. You can also save the value in a temporary text file and enter it in Portnox Cloud later.
 -
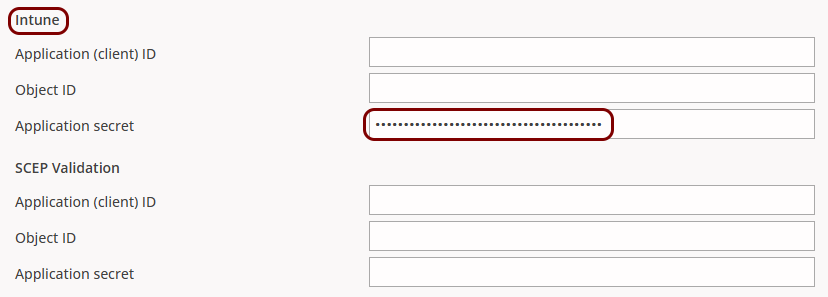
Go back to the Portnox Cloud screen on another browser tab. Paste the copied secret into the Application
secret field in the Intune section.
-
Go back to the Azure Portal and in the left-hand side menu of your application screen, click on the option.
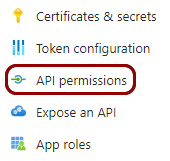
-
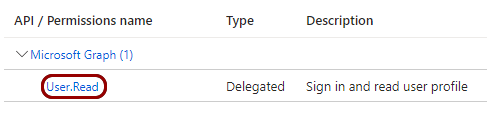
In the right-hand side pane of the API permissions screen, click on the default
permission.
-
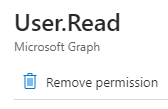
In the default permission pane, click on the Remove permission option. Confirm your choice
by clicking on the Yes, remove button.
-
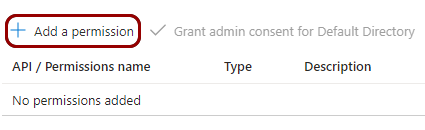
Click on the Add a permission option.
-
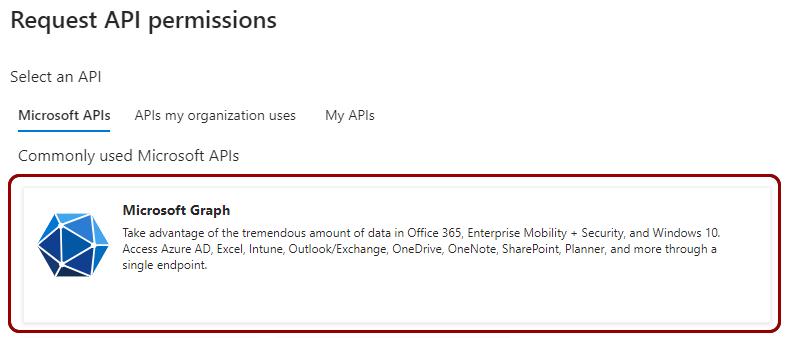
In the Request API permissions pane, click on the Microsoft Graph
tile.
-
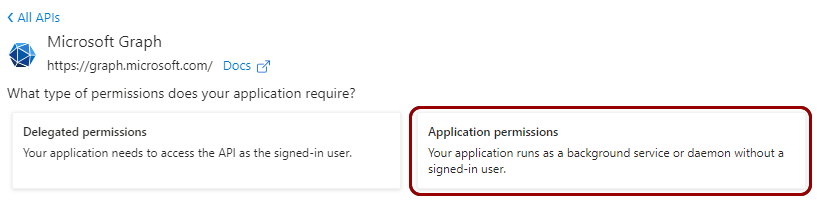
In the Request API permissions pane, click on the Application
permissions tile.
-
Click on the Add a permission option.
-
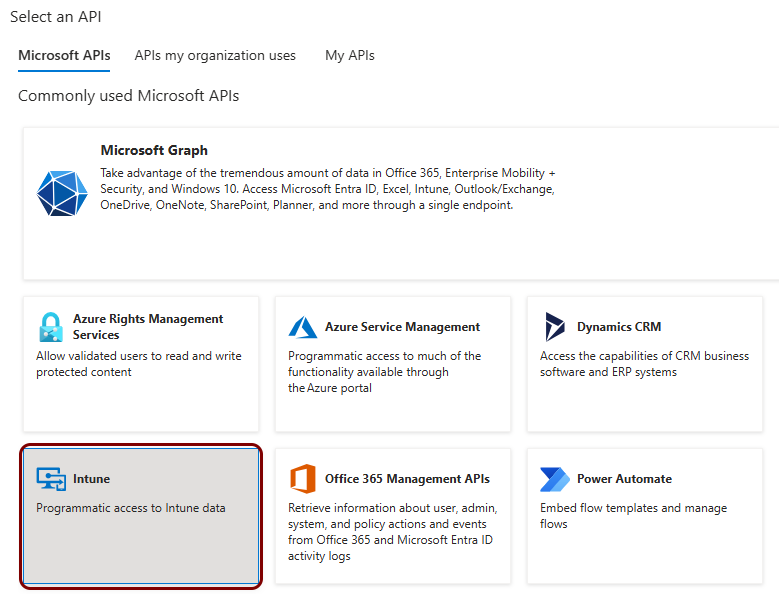
In the Request API permissions pane, click on the Intune tile.
-
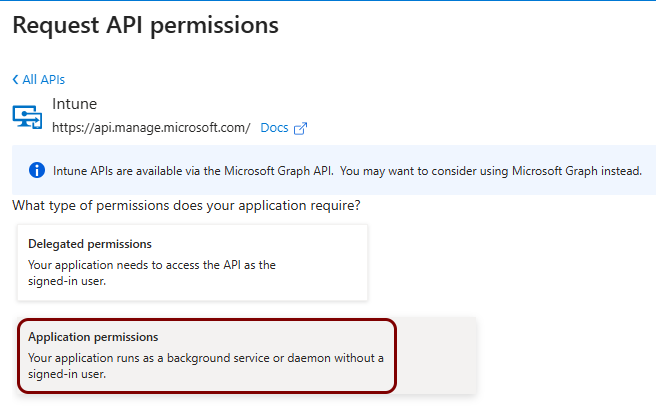
In the Request API permissions pane, click on the Application
permissions tile.
-
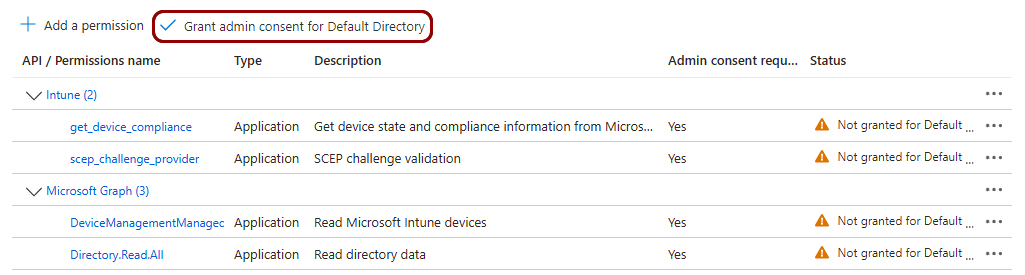
In the right-hand side pane of the API
permissions screen, click on the Grant admin consent for Default Directory
option. Click on the Yes button in the confirmation window.
-
In the left-hand menu of your application screen, click on the Overview option.
-
Copy the following information from the
Essentials section in the right-hand side pane: Application (client)
ID, Object ID.
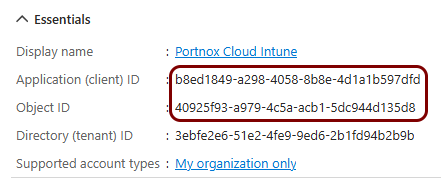
You can save this information temporarily in a text file or copy it directly.
-
Go back to the Portnox Cloud screen in another browser tab. Paste the Application (client)
ID and Object ID into their respective fields in the
Intune section.

Result: You have created the Intune application registration and entered its Application (client) ID, Object ID, and client secret into Portnox Cloud.
Register the SCEP Validation application
In this section, you will create the Entra ID app registration Portnox Cloud uses to validate SCEP requests.
-
In the Azure Portal main menu, click on the Microsoft Entra ID option.
You can access the main menu by clicking on the icon in the top left corner of the Azure Portal.
-
In the left-hand side menu, click on the App registrations option.
-
In the top menu of the Azure Portal App registrations screen, click on the New
registration option.
-
In the Register an application pane, enter
a name for the application and click on the Register button at the bottom of the page.
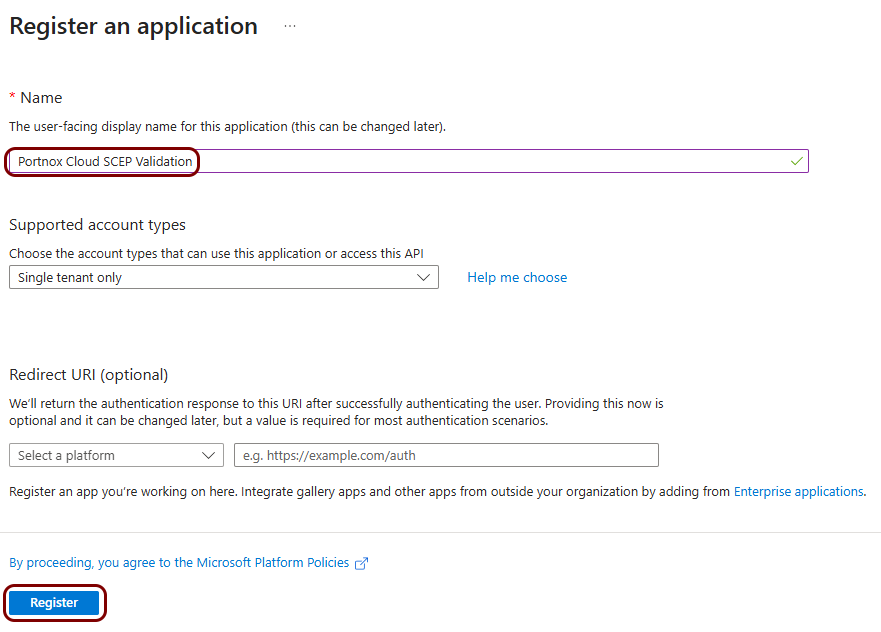 In this example, we used the name Portnox Cloud SCEP Validation, but you can use any name you like.
 -
In the left-hand side menu of your application screen, click on the option.
-
In the right-hand side pane of the Certificates & secrets screen, click on the
New client secret option.
-
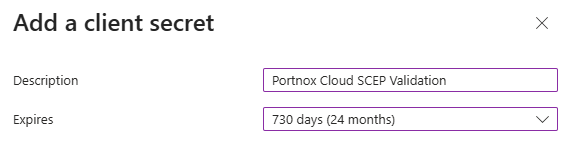
In the Add a client secret pane, add an
optional Description and select expiration time in the Expires field.
Then, click on the Add button on the bottom of the pane.
-
In the right-hand side pane of the Certificates
& secrets screen, click on the copy icon next to the newly added secret.
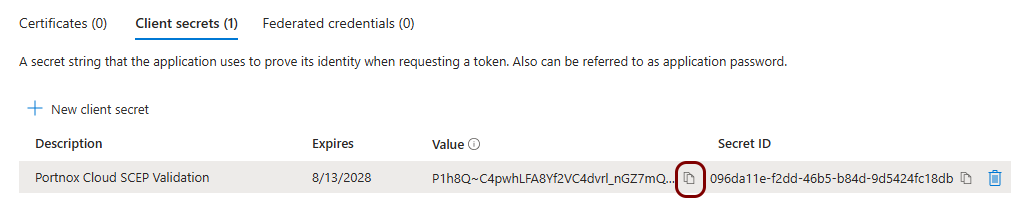 Important:Make sure to copy the value, not the ID. You will not be able to copy this secret later. You can also save the value in a temporary text file and enter it in Portnox Cloud later.
 -
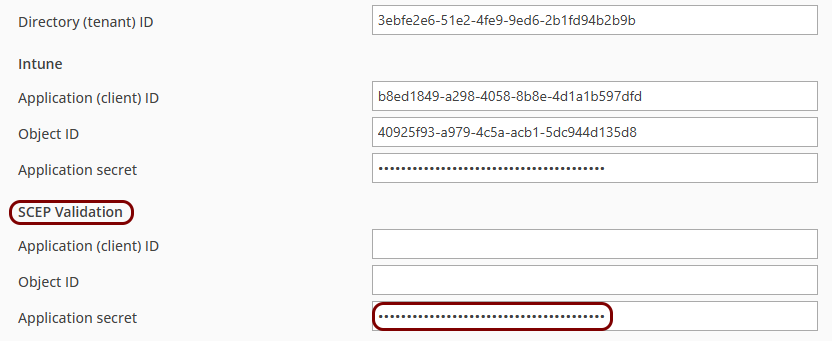
Go back to the Portnox Cloud screen on another browser tab. Paste the copied secret into the Application
secret field in the SCEP Validation section.
-
Go back to the Azure Portal and in the left-hand side menu of your application screen, click on the option.
-
In the right-hand side pane of the API permissions screen, click on the default
permission.
-
In the default permission pane, click on the Remove permission option. Confirm your choice
by clicking on the Yes, remove button.
-
Click on the Add a permission option.
-
In the Request API permissions pane, click on the Microsoft Graph
tile.
-
In the Request API permissions pane, click on the Application
permissions tile.
-
Click on the Add a permission option.
-
In the Request API permissions pane, click on the Intune tile.
-
In the Request API permissions pane, click on the Application
permissions tile.
-
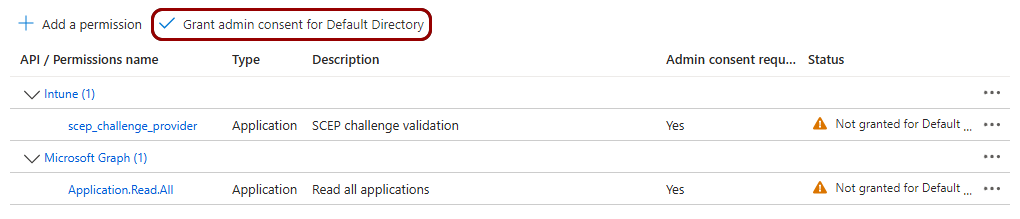
In the right-hand side pane of the API
permissions screen, click on the Grant admin consent for Default Directory
option. Click on the Yes button in the confirmation window.
-
In the left-hand menu of your application screen, click on the Overview option.
-
Copy the following information from the
Essentials section in the right-hand side pane: Application (client)
ID, Object ID.
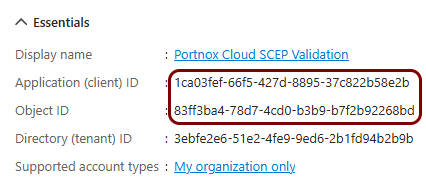
You can save this information temporarily in a text file or copy it directly.
-
Go back to the Portnox Cloud screen on another browser tab. Paste the Application (client) ID and Object ID into
their respective fields in the SCEP Validation section.
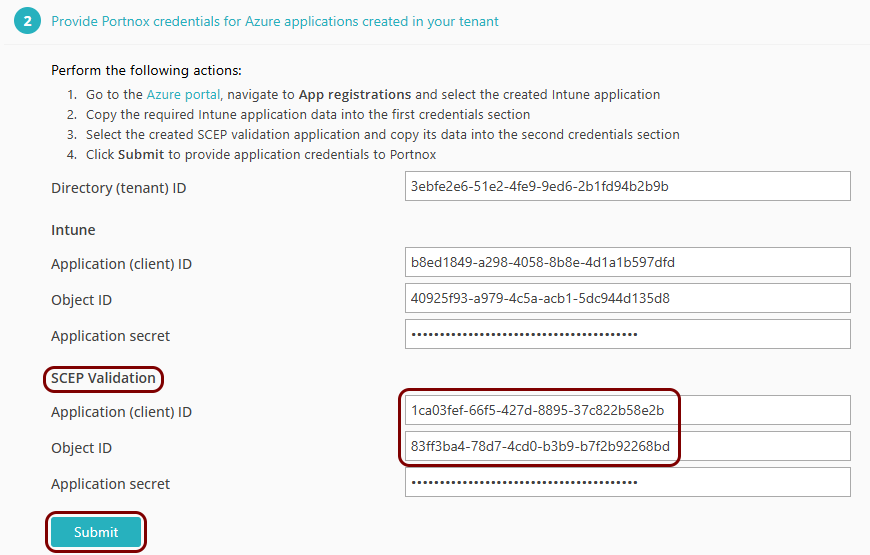
Result: Your Intune integration is now active. You can see Intune-related information for specific devices on the Devices screen.
To automatically create Intune configuration policies, see: Automatically create Intune configuration policies. To manually link those policies, see: Manually link configurations in Intune.