Set up the self-onboarding portal
In this topic, you will learn how to set up the Portnox™ Cloud self-onboarding portal for your users.
-
In the Cloud portal top menu, click on the Settings option.

-
In the Cloud portal left-hand side menu, click on the option.
-
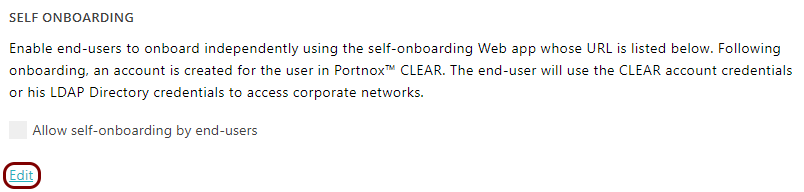
In the Self Onboarding section, click on the Edit link.
- Optional:
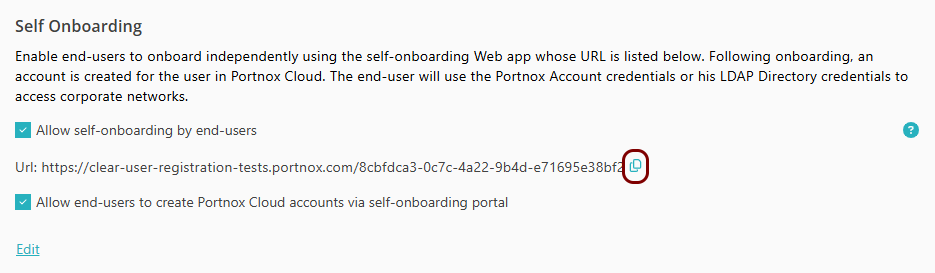
If you want Cloud account users to be able to use their existing accounts as well as create new Cloud accounts, in the
Access method section, choose the Any user option.
Note:We strongly recommend that you select this option if you want to use the self-onboarding portal to onboard IoT devices, such as printers.

-
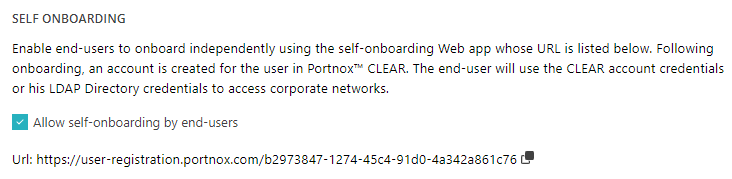
Click on the ⧉ icon to copy the URL and share it with your users.
 Note:The URL for this content doesn’t change. You can use your company’s link shortening services or redirects to create a URL that is easier for your users to remember and access.
Note:
On mobile devices, make sure to use a supported browser when accessing the self-onboarding portal:
- Android: Chrome
- iOS: Safari
Note:
Profiles obtained through the self-onboarding portal have MAC randomization
disabled to prevent issues where a single device might consume multiple licenses.
Note:
The self-onboarding portal does not work with contractor
accounts. If you have external contractors and want them to use the self-onboarding portal, you must use Portnox accounts.