
Configure ZTNA with on-premises file shares and a Linux Docker container
In this topic, you will learn how to configure Portnox™ ZTNA to allow your remote users to access your private file shares hosted on-premises, by using a Docker container in an on-premises machine with Linux.
In this scenario:
-
You want your remote users to be able to access private SMB file shares that you host on-premises.
-
You need to host a Portnox Docker container in the on-premises local network to be able to access these resources. You want to use a Linux-based physical or virtual machine to run Docker and host the container.
We assume that you have already set up a physical or virtual machine on your chosen platform with Linux installed. We also assume that this machine is running in a network that has direct access to the resource. We will provide examples for Ubuntu and Red Hat, which you can easily adapt for other Linux distributions. We also assume that you already distributed certificates to your client devices.
Set up the ZTNA gateway in Portnox Cloud
In this section, you will set up a ZTNA gateway in Portnox Cloud, install Docker on your machine, and run the Portnox ZTNA Docker container.
-
In the top menu of Portnox Cloud,
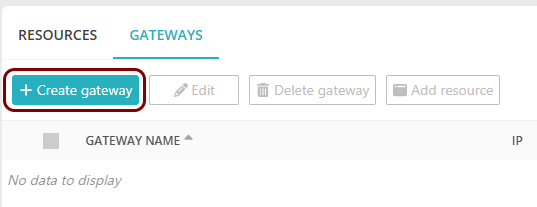
select the option. Then, on the Gateways screen, click on the + Create
gateway button.
-
On the Create gateway screen, enter a name for this
gateway in the Gateway friendly name field, and in the Region field,
select either US Node or EU Node. Then, click on the Create
gateway and generate Docker commands button.

-
In the Provision container step, click on the
Copy command link under the displayed Docker command to copy the command to the
clipboard.

Set up the ZTNA resource in Portnox Cloud
In this section, you will set up a ZTNA resource in Portnox Cloud and configure it to access your private resource hosted in the same local network as the Docker container.
-
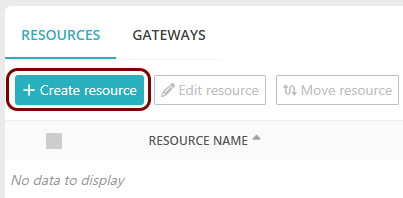
In the top menu of Portnox Cloud, select the option. Then, on the Resources screen, click on the + Create
resource button.
-
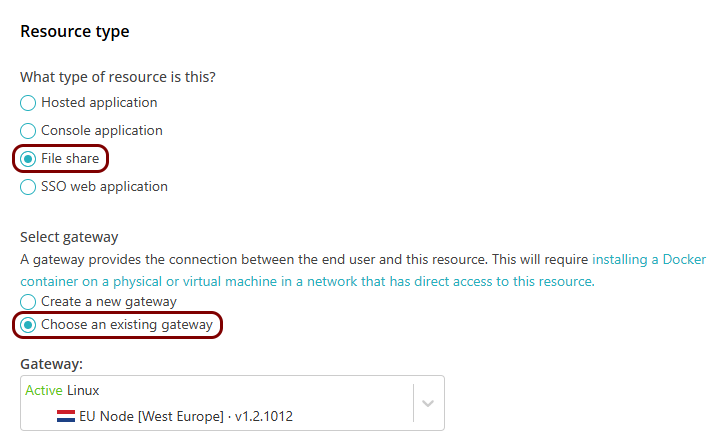
In the Resource type step, select the File
share option, and then the Choose an existing gateway option. In the
Gateway field, select the gateway that you have just created.
Note:File sharing requires a version of the gateway container that supports this functionality. If the gateway container is outdated, Portnox Cloud shows a message below the Gateway field. You can continue creating the resource, but you must update the container before users can connect (see the following topic: Updates).
-
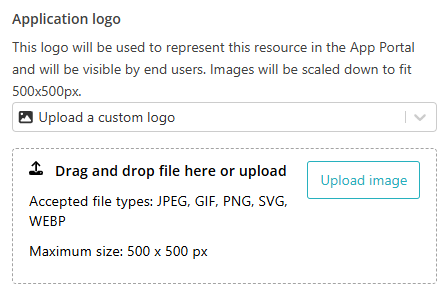
In the Application logo section, select one of the logos from the list, or select the
Upload a custom logo option and then click on the Upload image
button to upload a logo for the application. Then, click on the Next button.
The logo is used in the Secure Access Portal.
-
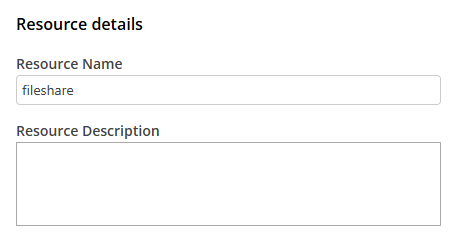
In the Details step, in the Resource Name
field, enter the name for this resource and optionally the Resource Description.
Note:The Resource Name must be a valid subdomain name, because the URL will be constructed using this name. You should only use lowercase letters, digits, and hyphens.
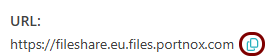
Result: If you want to use the Portnox URL, you can copy the URL for your resource by clicking on the ⧉ icon.
- Optional:
If you want to use a URL in your own domain for the resource:
-
Activate the Use a custom URL linked to an SSL certificate checkbox.

-
In the Upload SSL certificate section, click on the Select
file button, and upload the certificate and private key for the custom URL (in the PKCS #12 format). Then, enter the password
for the private key in the Certificate password field, and click on the
Apply certificate button.
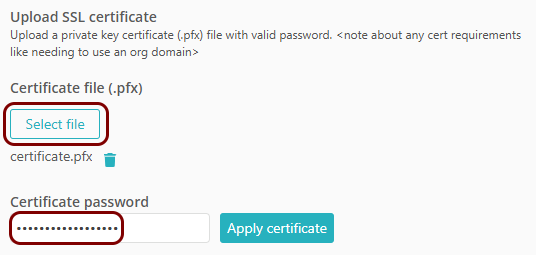 Note:You must acquire the specific subdomain certificate from the relevant certificate authority, or you can use a wildcard certificate for all your subdomains.
 -
Verify the details displayed for the certificate.

-
If you are using a certificate with multiple domains/subdomains or a wildcard certificate, in the
Domain field, select the relevant domain for your resource’s URL, and in the
Suffix field (if active, only for wildcard certificates), enter the
subdomain.
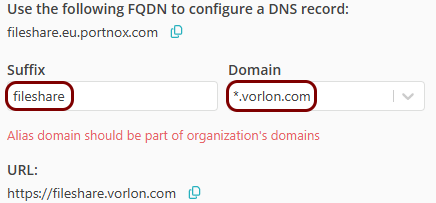
In this example, your resource URL will be: fileshare.vorlon.com.
-
Activate the Use a custom URL linked to an SSL certificate checkbox.
-
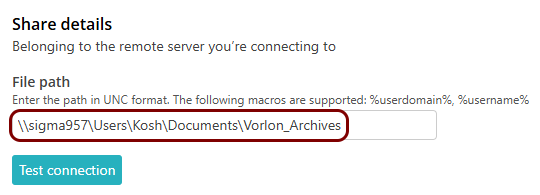
- Optional:
Click on the Test connection button. Then, in the
Test connection window, enter the Test username and
Test password, and click on the Test connection button.
Note:The test runs against the current, unsaved values in the form. The test credentials are not saved.
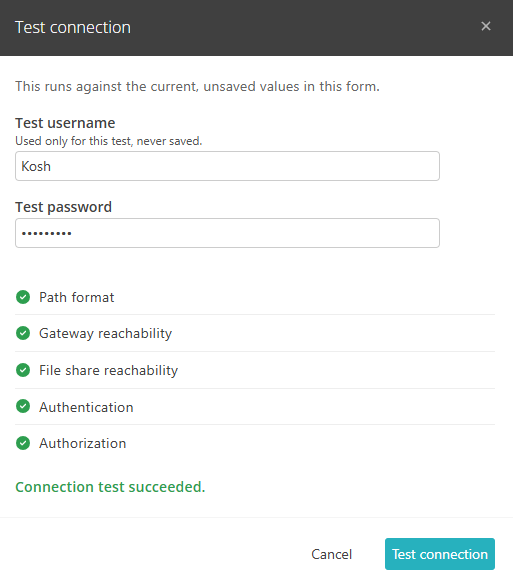
Result: If all checks pass, the Test connection window displays the Connection test succeeded. message.
Result: Your users can now access your private file share by typing the URL in the browser.
Configure the hosted application access control policy
In this section, you will configure the access control policy for groups that you want to have access to this hosted application.
-
In the Cloud portal top menu, click on the Groups option.

-
Select a group that you want to configure, click on the ⋮ icon at the end
of the row that represents the group, and then select the Group policies option.
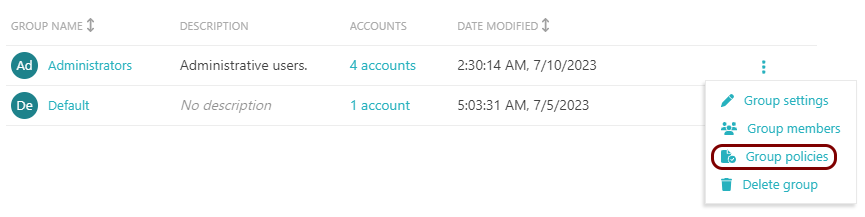 Note:Repeat this step and the next steps for any other groups that you want to be able to access hosted applications.
Automatically update an existing local server container
In this section, you will learn how to automatically update your Docker container to the latest version by deploying another Docker container: portnox-autoupdate.
-
Get an API token from Portnox Cloud:
-
Click on the ⧉ button to copy the code and store it in a safe
place.
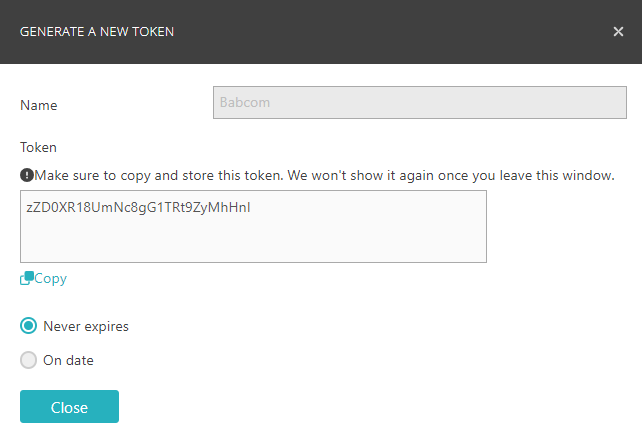 Important:You will not be able to access this code again after closing this window.
-
Click on the ⧉ button to copy the code and store it in a safe
place.