Onboard a macOS device to a network with credentials

In this topic, you will learn how to onboard using credentials, a macOS computer with Apple Configurator, and a network managed by Portnox™ Cloud.

Note: The screenshots in this topic were made using macOS 12 Monterey. The user interface may differ slightly for other macOS versions. We support macOS 10.9 (Mavericks) and up.

Download the root CA certificate

In this section, you will download the root CA certificate from Portnox™ Cloud, which is needed to create a profile.

  1. In the Cloud portal top menu, click on the Settings option.

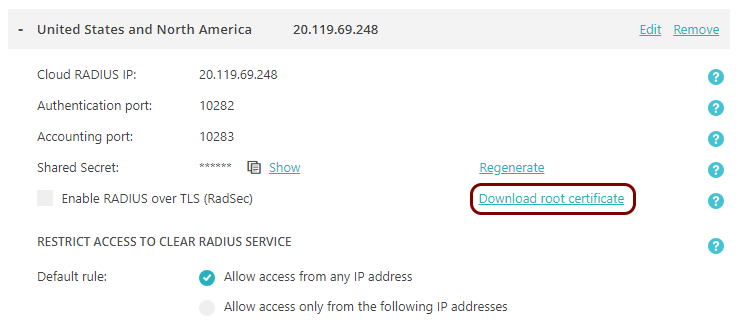
  2. In the Cloud portal left-hand side menu, click on the Services > CLEAR RADIUS SERVICE > CLEAR RADIUS instance option.

  3. Click on any of the RADIUS servers listed in the right-hand pane to show its configuration.

  4. Click on the Download root certificate link.

Result: The root CA certificate file is in the Downloads folder on the local disk.

Install the Apple Configurator

In this section, you will download and install the Apple Configurator application from the App Store.

  1. On your macOS computer, run the App Store application.

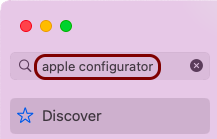
  2. In the Search field in the top-left corner of the App Store window, type: apple configurator and press the  ↩  key.

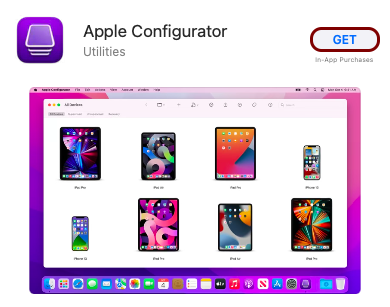
  3. Click on the Get button and then the Install button next to the Apple Configurator entry. Then, log in to your Apple ID.

Result: The Apple Configurator application is installed and ready for use.

Create the Portnox Cloud profile using Apple Configurator

In this section, you will create an Apple profile with the root CA certificate and information about your network.

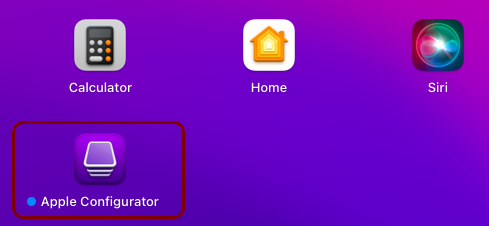
  1. Open the Apple Configurator application from the Launcher.

    If this is the first time you open this application, accept the license agreement.

  2. In the Apple Configurator top menu, select File > New Profile.

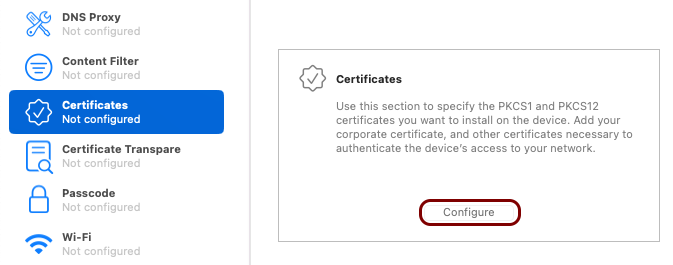
  3. On the left-hand side of the configurator window, scroll down to the Certificates icon, click on it, and in the right-hand side pane click on the Configure button.

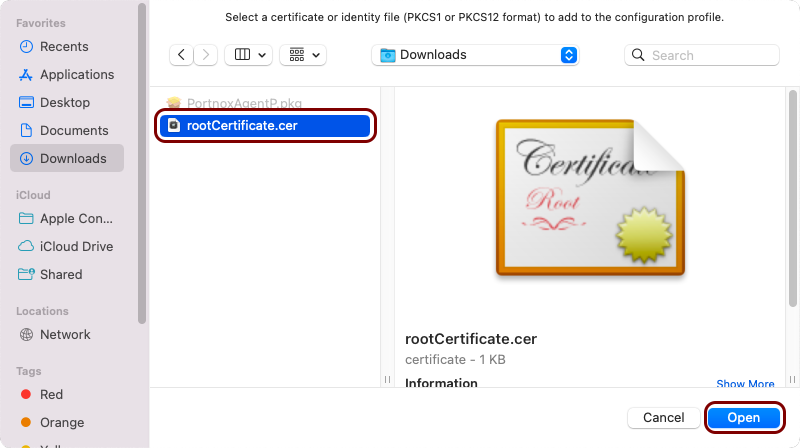
  4. In the file selector, locate and click on the root CA certificate file, downloaded as described in the previous section, and then click on the Open button.

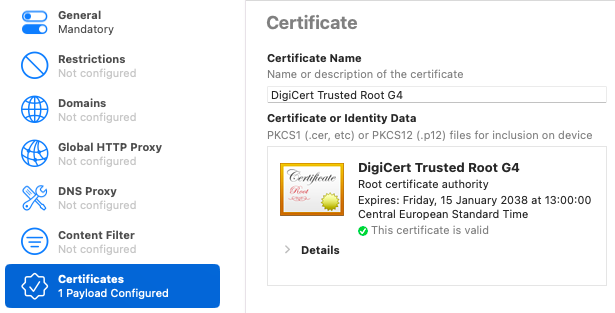
    Result: The root CA certificate is added to the profile.

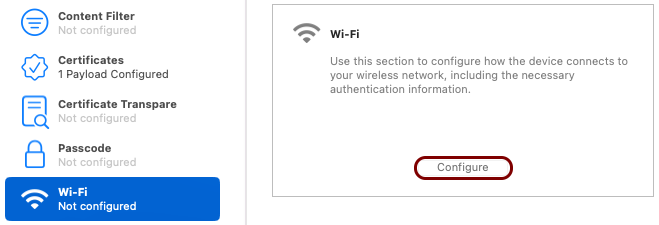
  5. On the left-hand side of the configurator window, scroll down to the Wi-Fi icon, click on it, and in the right-hand side pane click on the Configure button.

  6. In the Wi-Fi pane on the right-hand side, configure the following properties:
    1. In the Service Set Identifier (SSID) section, enter the SSID of your Wi-Fi network.

    2. In the Security Type section, select WPA/WPA2 Enterprise.

    3. In the Accepted EAP Types section, select TTLS only.

    4. Select the Use Per-Connection Password checkbox.

    5. In the Inner Authentication section, select the supported authentication method.

      Note: The authentication method is the method used to communicate with internal or external authentication repositories. Different repositories may support different methods. For example, cloud-based repositories like Microsoft Azure (Entra ID), Google Workspace, and Okta supports PAP only, but AD supports MSCHAP. If you don’t know the correct method for your user repository, try different ones to see which one works. We also recommend that you read the following topic about the security of different authentication methods: EAP methods and their security.
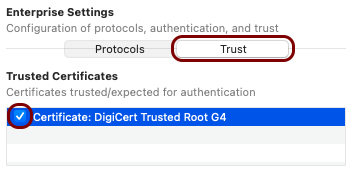
    6. In the Enterprise Settings section, click on the Trust button and then select the checkbox next to the name of the root CA certificate imported earlier.

  7. On the left-hand side of the configurator window, scroll up to the General icon, click it, and in the right-hand side pane enter a name for this profile in the Name field.

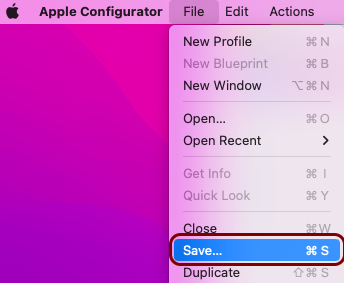
  8. In the Apple Configurator top menu, select File > Save.

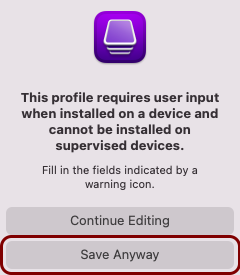
  9. In the warning pop-up, click on the Save Anyway button.

  10. Select a location to save the profile.

Result: The Portnox Cloud profile file is saved on the disk and ready for use.

Import the Portnox Cloud profile and connect to the network

In this section, you will import the newly created Portnox Cloud profile into macOS and test the network connections.

  1. Double-click on the Portnox Cloud profile file saved in the previous section.
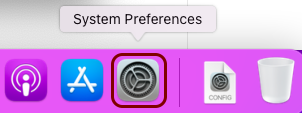
  2. Open the System Preferences application.

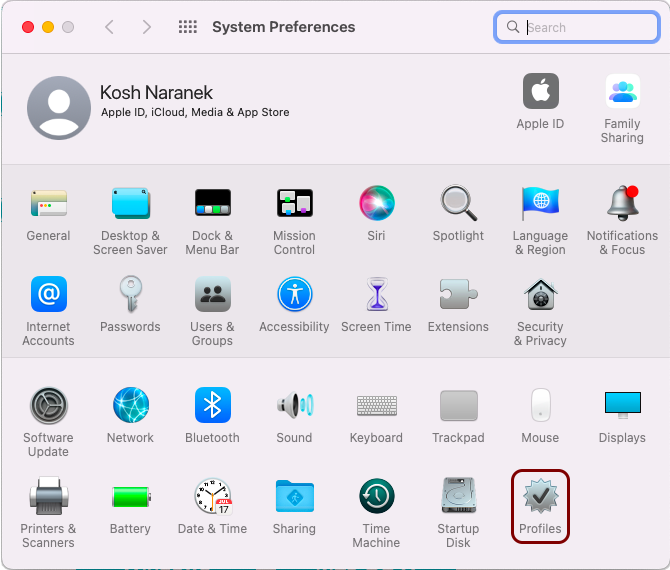
  3. In the System Preferences window, click on the Profiles icon.

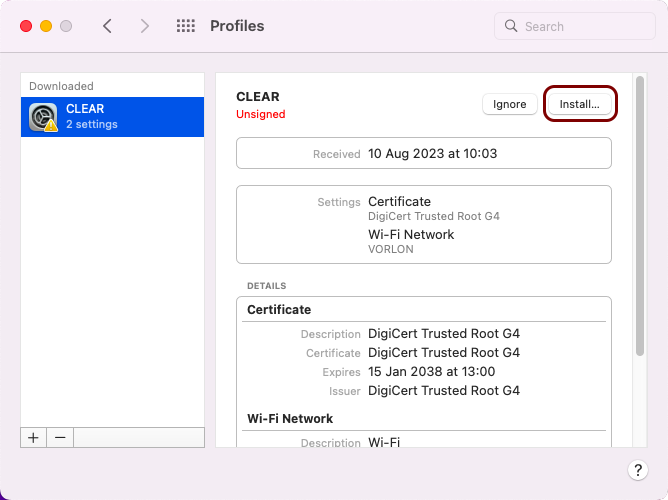
  4. In the Profiles window, click on the Install button.

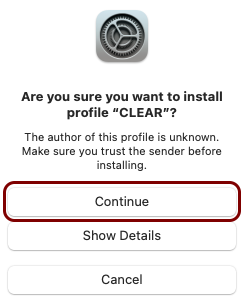
  5. In the warning pop-up, click on the Continue button.

  6. In the Enter settings window, leave the Username field empty and click on the Install button.

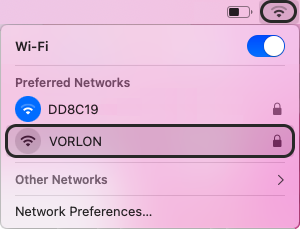
  7. Connect to the configured Wi-Fi network.

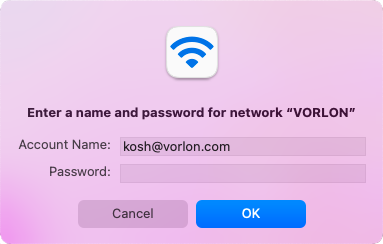
    You should see a pop-up asking for your login and password.

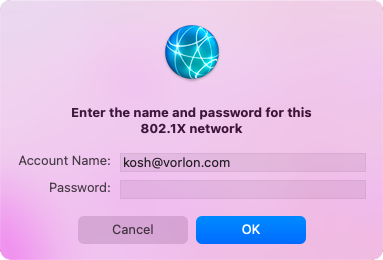
  8. You should see a pop-up asking you to enter your corporate credentials.

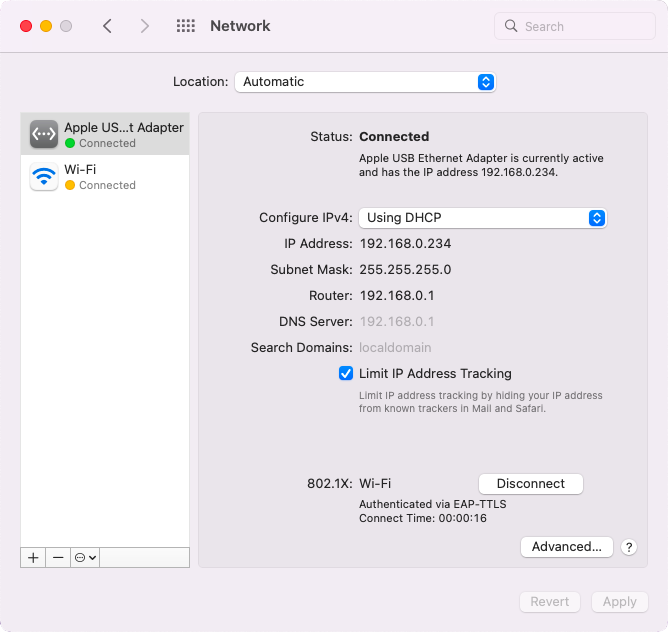
  9. Connect the Ethernet cable to the switch to access the wired network.
  10. You should see a pop-up asking you to enter your corporate credentials.

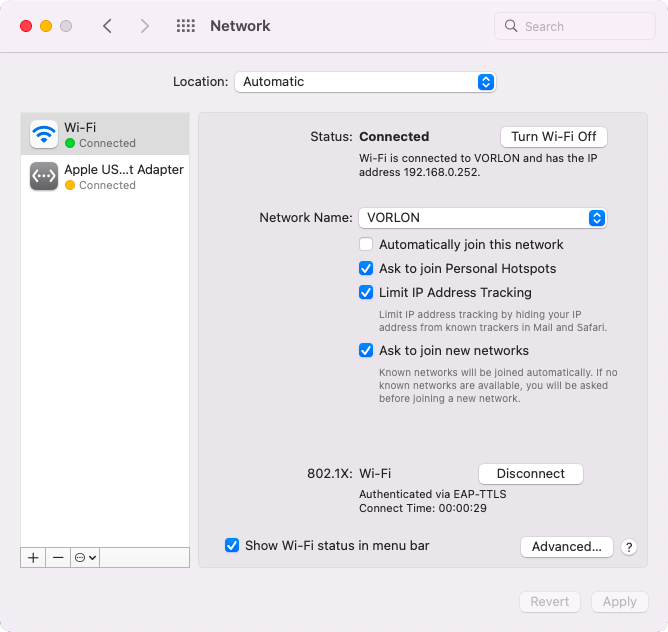
Result: Your macOS computer is connected to networks managed by Portnox Cloud.
Troubleshooting information: See the following topic: How to troubleshoot typical device onboarding issues.