Configure advanced RADIUS server options
In this topic, you will learn how to configure advanced options for Cloud RADIUS servers in Portnox™ Cloud.
Before you begin, you must have an active Cloud RADIUS server in Portnox Cloud. To create a Cloud RADIUS server, read the following topic: Create Cloud RADIUS servers.
Settings described in this topic are optional and allow you to have more control over your RADIUS servers.
-
In the Cloud portal top menu, click on the Settings option.

-
In the Cloud portal left-hand side menu, click on the option.
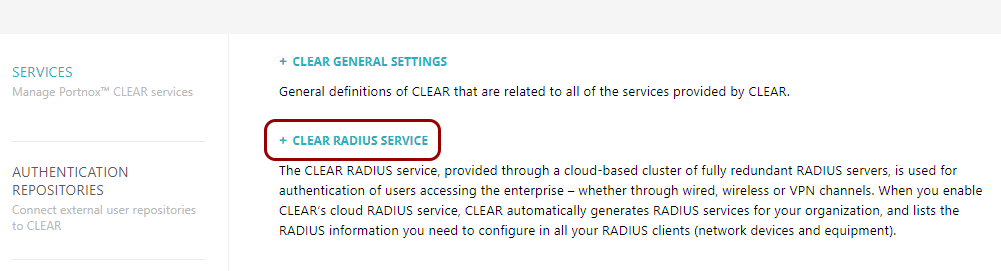
The right-hand pane shows the list of active servers.

-
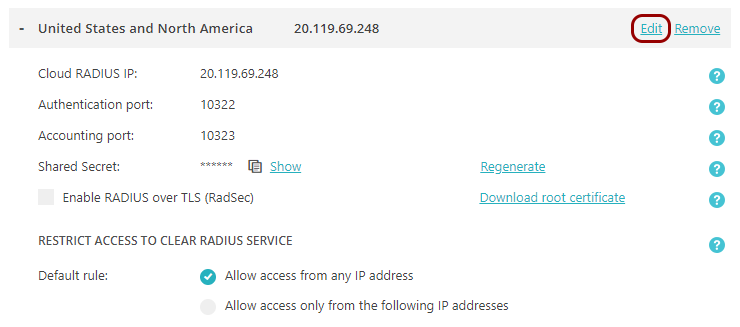
Edit the security options for active RADIUS servers.
-
Click on the menu option on the right-hand side.
-
Click on the Enable RADIUS over TLS (RadSec) checkbox to activate it if you want to
allow your NAS devices to communicate with the selected RADIUS server using RadSec.

-
If your NAS devices support mTLS (mutual TLS) for RadSec, click on the Validate NAS Client
Certificate (RadSec) checkbox to activate it.
 Important:for mTLS to work, you must download a trusted root certificate from your NAS device platform, and then upload this trusted root certificate in the section by clicking on the Upload trusted root certificate generated by... link.
 -
If your wireless devices support EAP session resumption as defined in RFC 5216, activate the Enable
EAP session resumption checkbox. Then, if needed, change the default Session lifetime
(hours) value.

If this setting is on, and your wireless device supports EAP session resumption, then if that device loses connection to the RADIUS server and reconnects within the session lifetime, it can authenticate quickly by providing a valid connection session ID.
Note:The session lifetime counts from the last successful connection, not the disconnection.Important:Fast reconnect must also be configured on client devices. If it is not configured on client devices, it will not work even if it is configured in Portnox Cloud. For information on how to configure fast reconnect on different operating systems and using UEM/MDM solutions, see the following topic: How to re-enable fast reconnect (EAP session resumption) on client devices. -
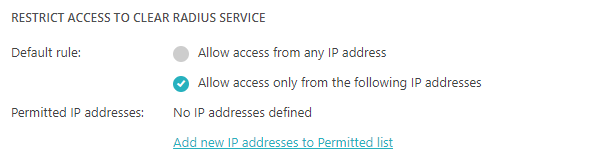
In the RESTRICT ACCESS TO Cloud RADIUS SERVICE section, you can change the setting from
the default Allow all IP addresses to one of the other options:
-
Allow only the listed IP addresses: Only NAS devices with public IP addresses or ranges that are listed will be able to communicate with this RADIUS server.
-
Allow all except the listed IP addresses: NAS devices with public IP addresses or ranges that are listed will be denied access to this RADIUS server.
-
-
If you selected the Allow only the listed IP addresses option or the Allow
all except the listed IP addresses option, click on the See and edit IP
addresses link and in the IP address allow/block list window, enter the IP
address or the IP address range in the CIDR format, and click on the
Add IP Address button. If you want to remove a selected IP address or range, click on
the checkbox next to the row representing the IP address or range to select it, and then click on the
Delete button. When finished, click on the Update IP List
button.

-
Click on the Save button to save your changes or click on the
Cancel button to abandon all changes.

After you click on one of the buttons, Portnox Cloud will exit the edit mode.
-
Click on the menu option on the right-hand side.
-
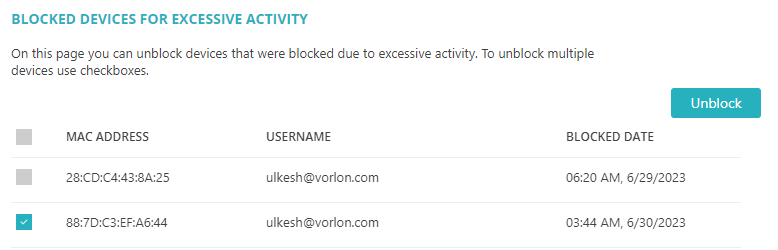
Manage the RADIUS anti-flood protection.
-
If you suspect your devices are blocked due to excessive activity, click on the Blocked devices for
excessive activity link.
Your browser will open the BLOCKED DEVICES FOR EXCESSIVE ACTIVITY screen.
-
When finished, click on the Back button in the top-right corner.
-
If you suspect your devices are blocked due to excessive activity, click on the Blocked devices for
excessive activity link.