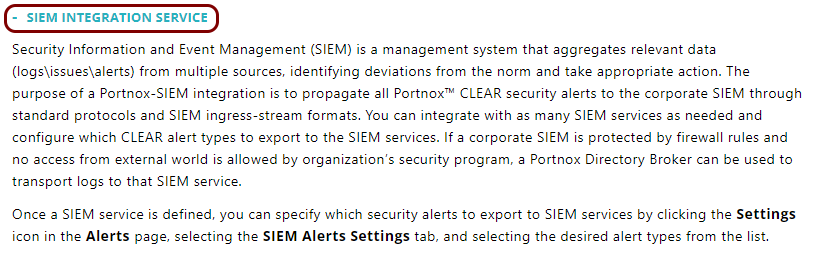
Integrate with NXLog
In this topic, you will learn how to send Portnox™ Cloud alerts to an on-premises NXLog Community Edition instance.
Before you start, download and install NXLog Community Edition on a physical or virtual machine in the same local subnet as the portnox-siem Docker container or LDAP Broker.
Configure NXLog
In this section, you will modify the nxlog.conf file to accept syslog data from Portnox Cloud.
Configure Portnox Cloud with the portnox-siem Docker container
In this section, you will learn how to configure Portnox™ Cloud to send alert data to an on-premises portnox-siem Docker container and then forward them to the on-premises NXLog syslog listener.
-
In the Cloud portal top menu, click on the Settings option.

-
In the Cloud portal left-hand menu, click on the option.
-
Create a new SIEM integration.
-
In the SIEM integration service section, click on the Add a new SIEM
integration link.
The New SIEM integration section opens.
-
In the Integration type field, select the Custom
option.

-
In the Name field, enter the name for the new integration.

In this example, we used the name NXLog but you can use any name you like.
-
In the Status field, select the Enabled option.

-
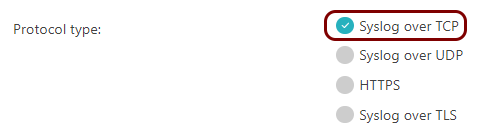
In the Protocol type field, select the Syslog over TCP
option.
-
In the IP field, enter the private IP address of the machine with the NXLog
listener.

-
In the Port field, type 514.

-
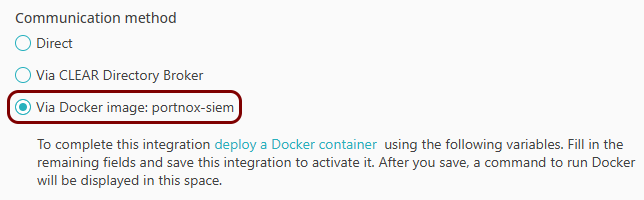
In the Communication method field, select the Via Docker image:
portnox-siem option.
-
In the Data format field, select the CEF option.

-
Click on the Save button to add the integration.
-
In your list of SIEM integrations, click on the Edit button in the row
representing the configuration that you just created.

-
Click on the Copy command link under the Via Docker image:
portnox-siem option.
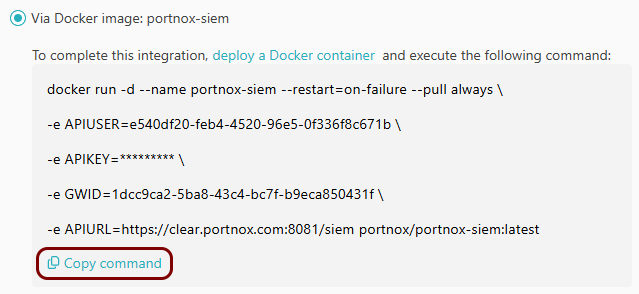
- Optional:
Click on the Test button in the row representing the
configuration that you just created.

Result: You will see the following information in this row: Docker image: Active.
-
In the SIEM integration service section, click on the Add a new SIEM
integration link.
- Optional:
To configure the types of alerts sent to your SIEM solution, see the following topic: Portnox Cloud alerts.
Note:To learn more about the content and format of alert messages sent to SIEM solutions, see the following topic: Format and content of alert information for SIEM.
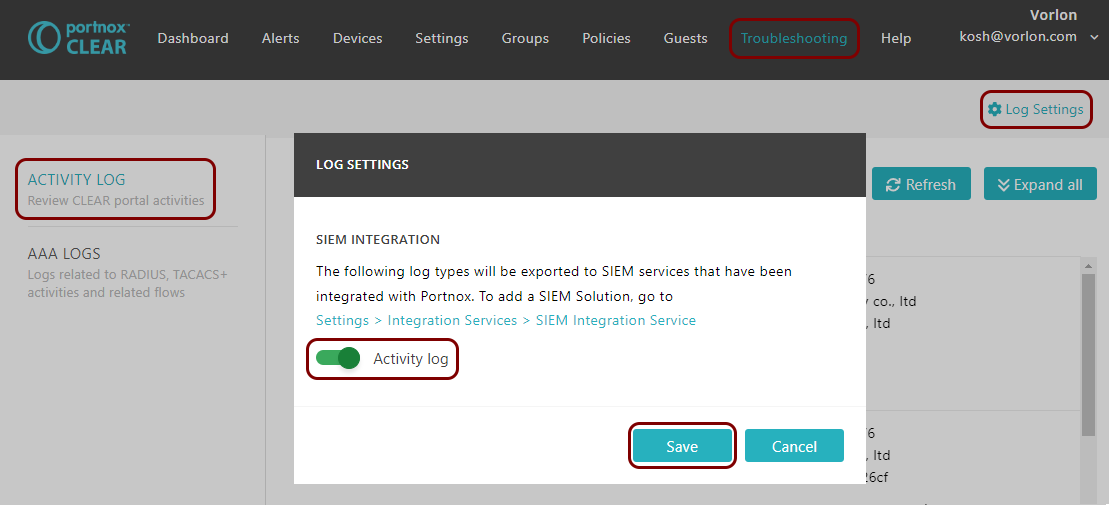
You can also send all of the Portnox Cloud activity log (activities performed by administrators in Portnox Cloud) to your SIEM solution. To do this, go to , activate the Activity log switch, and click on the Save button.
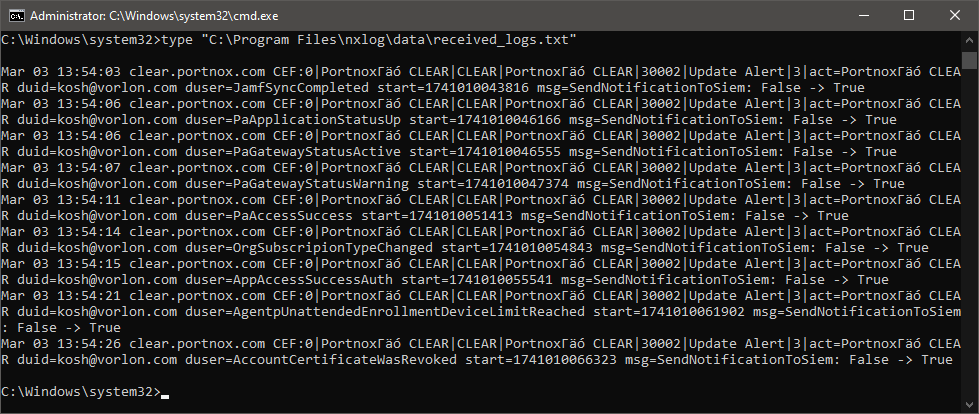
Result: NXLog is receiving alerts from Portnox Cloud via the portnox-siem Docker container.
Configure Portnox Cloud with LDAP Broker
In this section, you will learn how to configure Portnox™ Cloud to send alert data to LDAP Broker and then forward them to the on-premises NXLog syslog listener.
-
In the Cloud portal top menu, click on the Settings option.
-
In the Cloud portal left-hand menu, click on the option.
-
Create a new SIEM integration.
-
In the SIEM integration service section, click on the Add a new SIEM
integration link.
The New SIEM integration section opens.
-
In the Integration type field, select the Custom
option.
-
In the Name field, enter the name for the new integration.
In this example, we used the name NXLog but you can use any name you like.
-
In the Status field, select the Enabled option.
-
In the Protocol type field, select the Syslog over TCP
option.
-
In the IP field, enter the private IP address of the machine with the NXLog
listener.
-
In the Port field, type 514.
-
In the Communication method field, select the Via Portnox Cloud Directory
Broker option.

-
In the Data format field, select the CEF option.
-
Click on the Save button to add the integration.
-
In the SIEM integration service section, click on the Add a new SIEM
integration link.
- Optional:
To configure the types of alerts sent to your SIEM solution, see the following topic: Portnox Cloud alerts.
Note:To learn more about the content and format of alert messages sent to SIEM solutions, see the following topic: Format and content of alert information for SIEM.
You can also send all of the Portnox Cloud activity log (activities performed by administrators in Portnox Cloud) to your SIEM solution. To do this, go to , activate the Activity log switch, and click on the Save button.
Result: NXLog is receiving alerts from Portnox Cloud via LDAP Broker.