Deploy the local RADIUS server container using Docker on Linux
In this topic, you will learn how to deploy the Portnox™ Cloud local RADIUS server container using Docker on a local Linux machine (physical or virtual).
Read the following important information before you begin:
-
We assume that the Linux machine is already installed, configured, updated, and connected to the local network. This guide includes only the installation and configuration of Docker and the Portnox Cloud local RADIUS server container.
-
You cannot place NAS devices behind a NAT because the local RADIUS server uses the source IP address of the connection, and with a NAT in place, that address would be the same for several NAS devices.
Install Docker
In this section, you will learn how to install Docker on the Linux machine.
Skip this section if Docker is already installed.
- Open the Terminal window.
-
Install Docker using your distribution’s package management framework.
Ubuntu:
sudo apt-get install docker.io -y
RedHat:
sudo yum install -y yum-utils sudo yum-config-manager --add-repo https://download.docker.com/linux/rhel/docker-ce.repo sudo yum install docker-ce sudo systemctl start docker
-
Test Docker using the Hello World test container.
sudo docker run hello-world
Result: Hello from Docker! This message shows that your installation appears to be working correctly.
Run the Portnox Cloud local RADIUS container
In this section, you will learn how to deploy the local RADIUS server Docker container locally to the Linux machine.
-
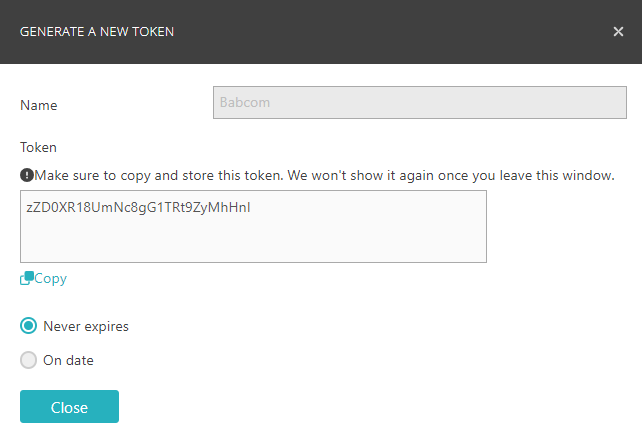
Copy and paste the values of the three environment variables that you saved
earlier (or copy them directly from Portnox Cloud) into three export
commands.
sudo export RADIUS_GATEWAY_ORG_ID=copied_RADIUS_GATEWAY_ORG_ID sudo export RADIUS_GATEWAY_PROFILE=copied_RADIUS_GATEWAY_PROFILE sudo export RADIUS_GATEWAY_TOKEN=copied_RADIUS_GATEWAY_TOKEN
-
Run the portnox/portnox-radius Docker container.
sudo docker run -d -p 1812:1812/udp -p 1813:1813/udp \ --name portnox-radius --restart=always \ -v portnox-radius-data:/data \ -e RADIUS_GATEWAY_PROFILE=$RADIUS_GATEWAY_PROFILE \ -e RADIUS_GATEWAY_ORG_ID=$RADIUS_GATEWAY_ORG_ID \ -e RADIUS_GATEWAY_TOKEN=$RADIUS_GATEWAY_TOKEN \ portnox/portnox-radius:latest
Note: The -v option creates and mounts a Docker volume that preserves the local RADIUS server data in case the container stops running, for example, if the machine is restarted or crashes. Without this option, local RADIUS cached data would be lost if the container stops running. To learn more about Docker volumes and an alternative, bind mounts, see Docker documentation. - Optional:
View the logs for the portnox/portnox-radius Docker container.
sudo docker logs portnox-radius -f
- Optional:
Check if your NAS is configured correctly and if the RADIUS packets are reaching your Docker container.
sudo docker exec -it portnox-radius sh / #apk add tcpdump / #tcpdump -i eth0 -v port 1812
Result: Your local RADIUS server is active.
You can check its status in Portnox Cloud, in the
section.Ubuntu:
RedHat:
Update an existing local RADIUS local server container
In this section, you will learn how to update your Docker container to the latest local RADIUS server version.
-
Stop the old Docker container:
sudo docker stop portnox-radius
- Optional:
If you want to save space, remove the old version of the Docker image:
sudo docker rmi portnox/portnox-radius:latest
-
Pull the latest version of the Docker image:
sudo docker pull portnox/portnox-radius:latest
-
Remove the old Docker container:
sudo docker rm portnox-radius
-
Deploy the new Docker container on the basis of the new image:
sudo docker run -d -p 1812:1812/udp -p 1813:1813/udp \ --name portnox-radius --restart=always \ -v portnox-radius-data:/data \ -e RADIUS_GATEWAY_PROFILE=$RADIUS_GATEWAY_PROFILE \ -e RADIUS_GATEWAY_ORG_ID=$RADIUS_GATEWAY_ORG_ID \ -e RADIUS_GATEWAY_TOKEN=$RADIUS_GATEWAY_TOKEN \ portnox/portnox-radius:latest