Onboard devices with AgentP using Microsoft Intune
In this topic, you will learn how to deploy Portnox™ AgentP on managed devices by using Intune.
You can deploy AgentP on managed devices using Intune on all platforms supported by Intune: Windows, macOS, iOS/iPadOS, and Android. However, unattended/automatic enrollment is possible only in some cases:
If you use Windows with Entra ID or Active Directory, you can automatically enroll AgentP via Intune. This enrollment can use either the identity of the current user logged in to Entra ID or Active Directory on the Windows machine, or the identity of the machine itself. This works because, in these cases, AgentP already receives verified identity information from the operating system, so the user does not need to confirm their identity manually.
- In all other cases, such as on other platforms (macOS, iOS, Android) or when Entra ID or Active Directory is not used on Windows devices, you have two options:
- The user can manually onboard in AgentP. Then, AgentP will be able to fully manage the networks as well as provide risk assessment.
- You can use Intune to first distribute platform-specific SCEP+Wi-Fi/wired profiles to connect to the managed network, and then distribute AgentP. However, in this case, AgentP will not be managing the network connections, and can only be used for risk assessment purposes.
Deploy on Windows
In this section, you will learn how to configure Microsoft Intune to deploy Portnox™ AgentP on managed Windows devices.
-
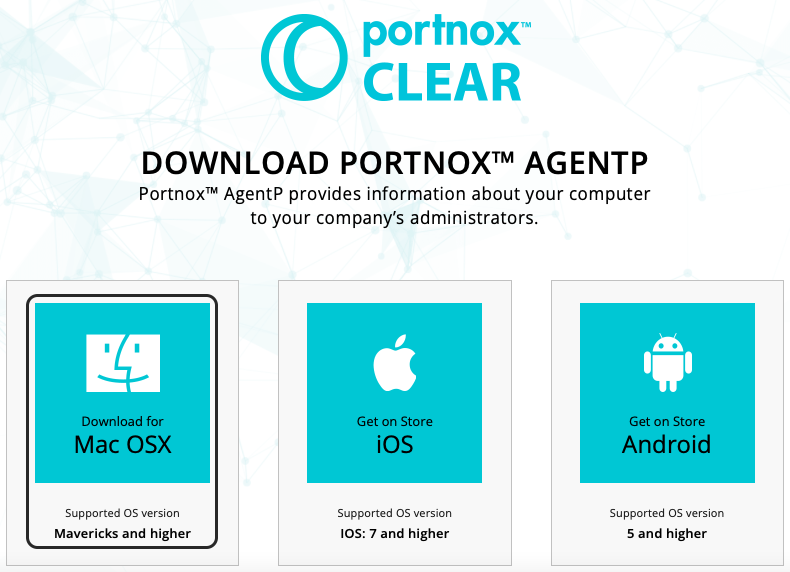
Scroll down to Windows files and click on the tile that best represents your Windows version
to download the AgentP MSI package and save it on your disk.
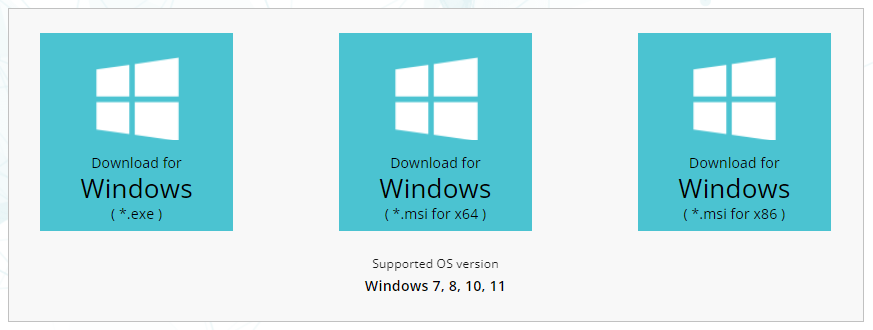
You will upload this package to Intune later.
-
In the left-hand menu, select the Apps option.
-
In the left-hand menu of the Apps pane, select the Windows option in
the By platform section.
-
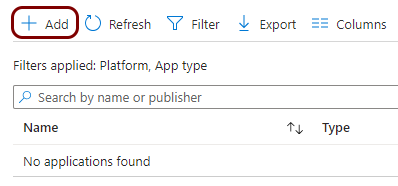
In the Windows | Windows apps pane, click on the Create button.
-
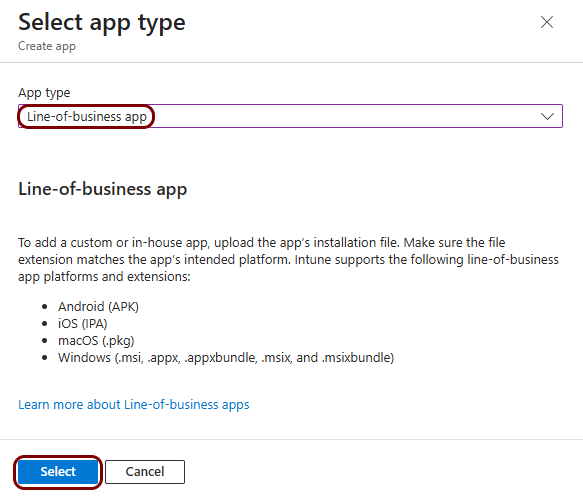
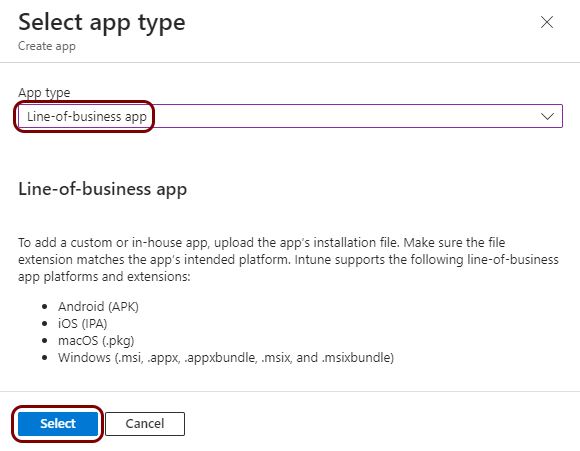
In the Select app type pane, in the App type field, select the
Line-of-business app option, and click on the Select button
below.
-
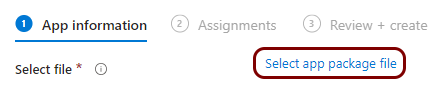
In the Add App pane, click on the Select app package file link.
-
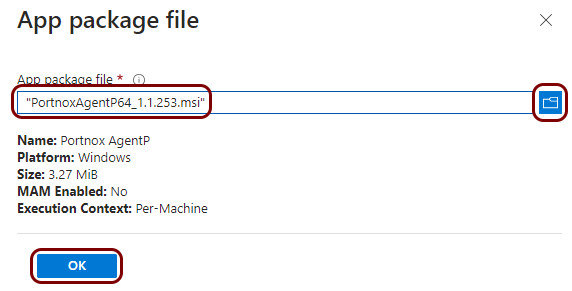
In the Add package file pane, click on the 🗀 icon
to open a file dialog, select the MSI package file that you downloaded earlier, and click on the
OK button.
-
In the Add App pane, in the App information step of the wizard:
-
In the Publisher field, type the name that you want to appear in the Company Portal
as the name of the publisher, for example, Portnox.

- Optional:
In the Command-line arguments field, enter command-line arguments.
Supported arguments:
-
ETYPE=computer_account: Use this argument if you want to enroll AgentP in kiosk mode. By default, if this argument is not used, AgentP enrolls in multi-user mode. -
DOMAIN=domain name: This is not recommended and should be used only in very rare cases where the certificate does not include the domain that the machine needs to enroll with. In hybrid setups, add the on-premises domains during Entra ID integration.
Note:If you need more than one argument, separate them with spaces, for example: ETYPE=computer_account DOMAIN=vorlon.local Note:For more information about AgentP unattended installation and onboarding options, see the following topic: Onboard Windows devices with AgentP in unattended or kiosk mode.
 -
-
In the Publisher field, type the name that you want to appear in the Company Portal
as the name of the publisher, for example, Portnox.
-
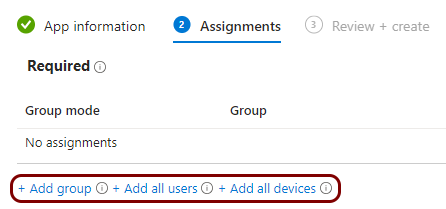
In the Assignments step of the wizard, use relevant options to assign this profile to
specific groups or all users/devices, and then click on the Next button.
- Optional:
If needed, add registry key values for AgentP.
To configure how AgentP works, you can add registry key values to the machine before installing AgentP. You can distribute such registry key values using Intune, too. To learn about the available values and their significance, see the following topic: AgentP configuration/installation options.
-
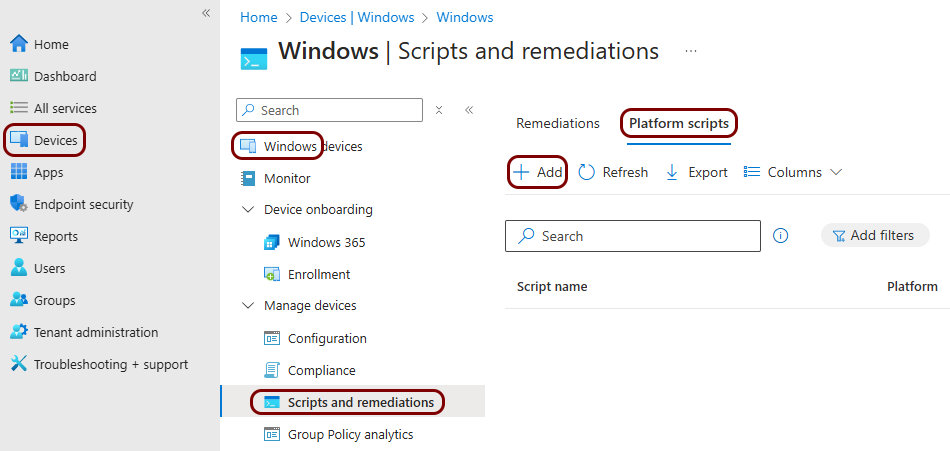
In Intune, go to the following pane: . Then, click on the Platform scripts tab, and then click on the
+Add button to add a new script.
-
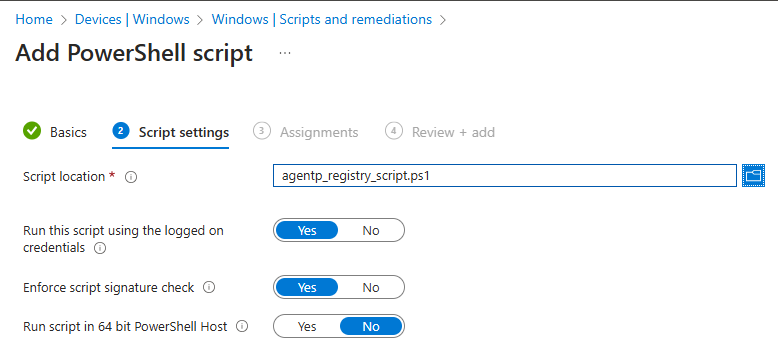
Follow the wizard steps to add the script. You can choose any name you like for the script configuration.
Then, browse for the .ps1 file that you saved and assign the script to users/devices as
needed.
-
In Intune, go to the following pane: . Then, click on the Platform scripts tab, and then click on the
+Add button to add a new script.
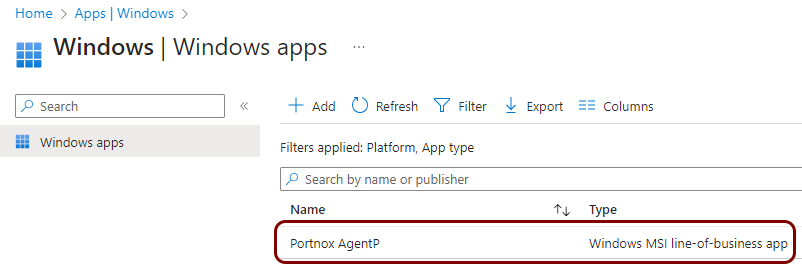
Result: You created a Windows AgentP app profile in Intune and assigned it to devices.
Deploy on macOS
In this section, you will learn how to configure Microsoft Intune to deploy Portnox™ AgentP on managed macOS devices.
-
Scroll down to the Mac OSX tile and click on it to download the AgentP macOS package and
save it on your disk.
You will upload this package to Intune later.
-
In the left-hand menu, select the Apps option.
-
In the left-hand menu of the Apps pane, select the macOS option in the
By platform section.

-
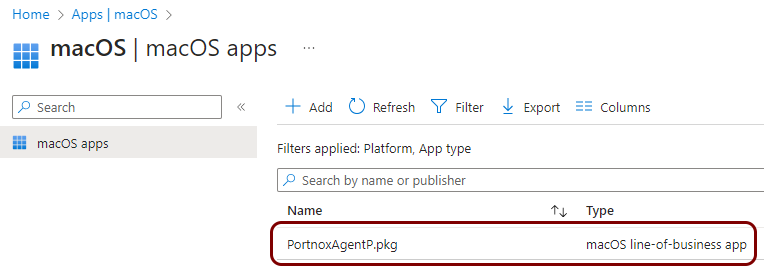
In the macOS | macOS apps pane, click on the Create button.
-
In the Select app type pane, in the App type field, select the
macOS app (PKG) option, and click on the Select button
below.
 Important:Microsoft still supports the Line-of-business app option for macOS but they recommend using the newer PKG option instead.
 -
In the Add App pane, click on the Select app package file link.
-
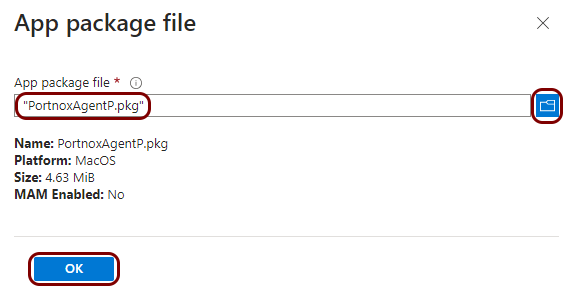
In the Add package file pane, click on the 🗀 icon
to open a file dialog, select the package file that you downloaded earlier, and click on the
OK button.
-
In the Add App pane, in the App information step of the wizard:
-
In the Publisher field, type the name that you want to appear in the Company Portal
as the name of the publisher, for example, Portnox.
-
In the Publisher field, type the name that you want to appear in the Company Portal
as the name of the publisher, for example, Portnox.
-
In the Assignments step of the wizard, use relevant options to assign this profile to
specific groups or all users/devices, and then click on the Next button.
Result: You created a macOS AgentP app profile in Intune and assigned it to devices.
Deploy on Android
In this section, you will learn how to configure Microsoft Intune to deploy Portnox™ AgentP on managed Android devices.
-
In the left-hand menu, select the Apps option.
-
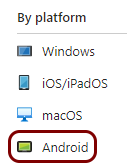
In the left-hand menu of the Apps pane, select the Android option in
the By platform section.
-
In the Android | Android apps pane, click on the Create button.
-
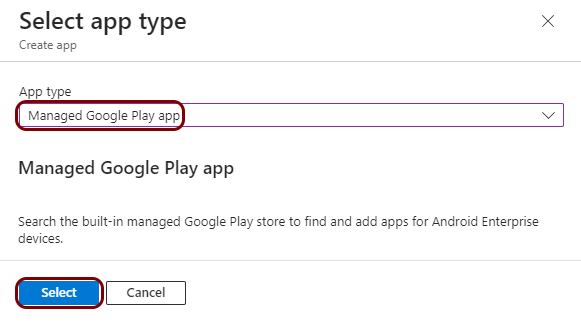
In the Select app type pane, in the App type field, select the
Managed Google Play app option, and click on the Select button
below.
-
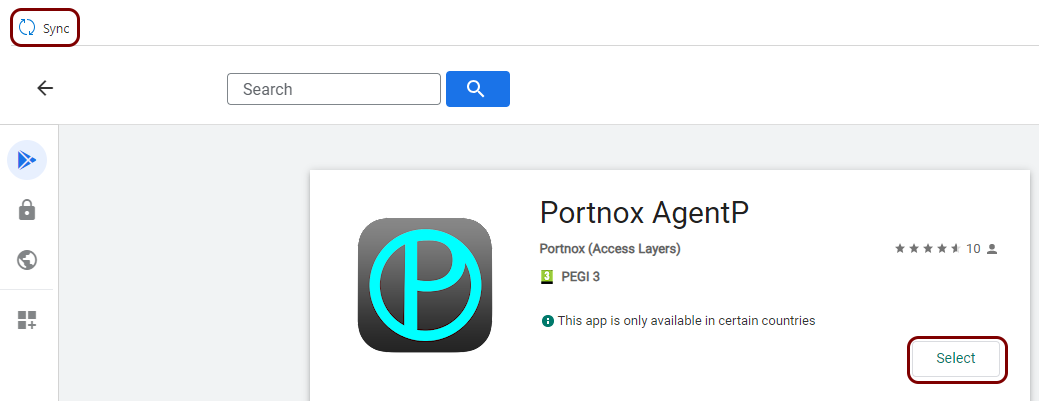
In the Managed Google Play pane, type Portnox in the
Search field, click on the 🔍 button, and
then click on the Portnox AgentP tile.
 Note:You may see a pop-up that says This site uses cookies. If so, click on the Got it link.
 -
In the Portnox AgentP pane, click on the Select button, and then click
on the Sync button.
Intune will show the Android | Android apps pane.
-
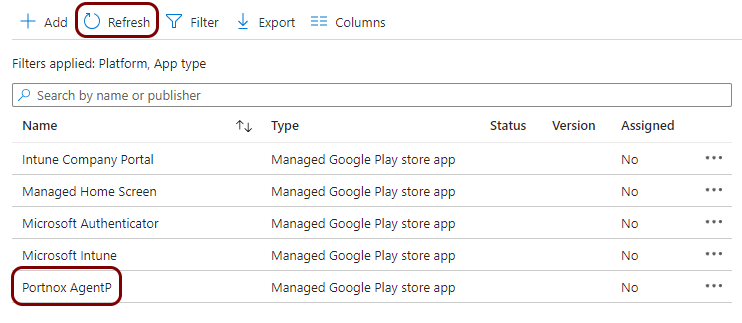
In the Android | Android apps pane, click on the Refresh button to
display the newly added Portnox AgentP entry on the list. Then, click on the
Portnox AgentP entry to edit assignments.
-
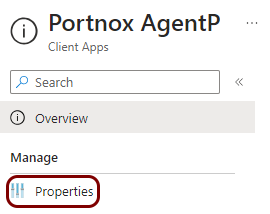
In the Portnox AgentP pane, in the menu on the left-hand side, click on the
Properties option.
-
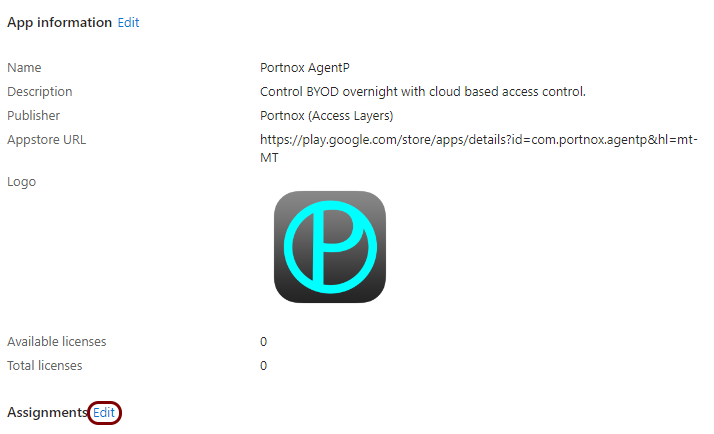
In the Portnox AgentP | Properties pane, click on the Edit link in the
Assignments section.
-
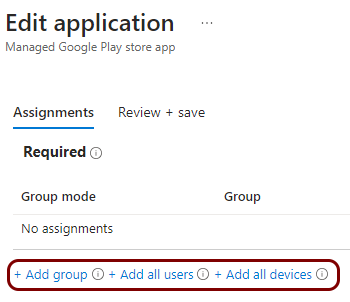
In the Edit application pane, use relevant options to assign this app to specific groups or
all users/devices, and then click on the Review + save button on the bottom of the
pane.
Result: You created an Android AgentP app profile in Intune and assigned it to devices.

Deploy on iOS
In this section, you will learn how to configure Microsoft Intune to deploy Portnox™ AgentP on managed iOS devices.
-
In the left-hand menu, select the Apps option.
-
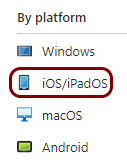
In the left-hand menu of the Apps pane, select the iOS/iPadOS option in
the By platform section.
-
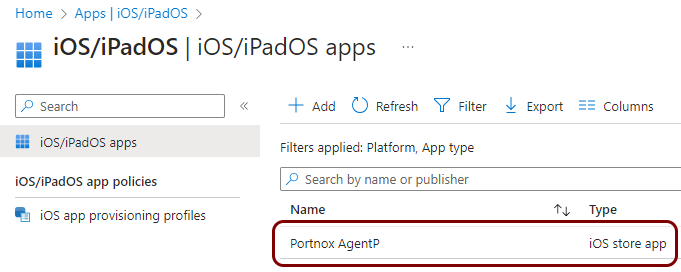
In the iOS/iPadOS | iOS/iPadOS apps pane, click on the Create
button.
-
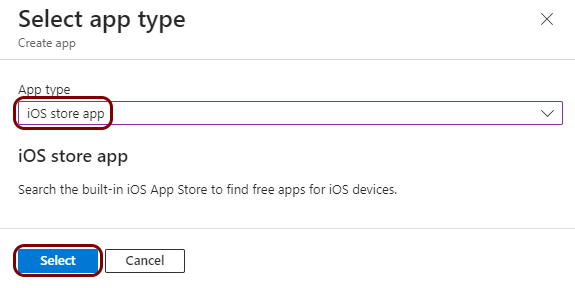
In the Select app type pane, in the App type field, select the
iOS store app option, and click on the Select button below.
-
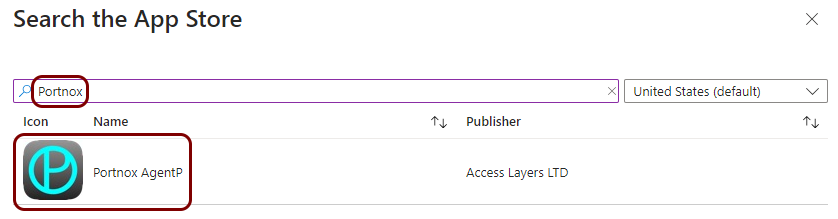
In the Add App pane, click on the Search the App Store link.

-
In the Search the App Store pane, type Portnox in the Enter
search terms field, and then click on the AgentP icon and click on the Select
button below.
-
In the Assignments step of the wizard, use relevant options to assign this profile to
specific groups or all users/devices, and then click on the Next button.
Result: You created an iOS AgentP app profile in Intune and assigned it to devices.