Onboard macOS devices with AgentP using Intune and SCEP
In this topic, you will learn how to deploy Portnox™ AgentP on managed macOS devices by using Intune and certificates managed by SCEP.
There are two options to deploy AgentP on managed macOS devices using Intune:
- Onboard devices using SCEP certificates and use AgentP for risk assessment only (recommended)
- Deploy AgentP and have the users onboard manually
This topic describes the first option. Begin by completing the steps in the following topic: Onboard macOS devices with certificates using Microsoft Intune and SCEP. Then, continue with steps in the current topic.
Add the AgentP installation package to Intune
In this task, you will download the Portnox™ AgentP installation package for macOS and upload it to Intune to be later distributed to managed macOS devices.
-
Scroll down to the Mac OSX tile and click on it to download the AgentP macOS package and
save it on your disk.
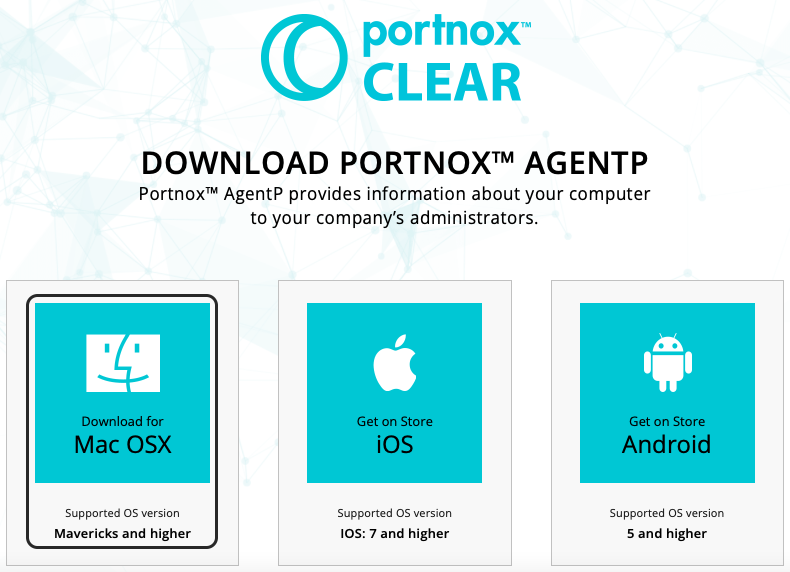
You will upload this package to Intune later.
-
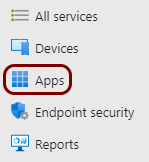
In the left-hand menu, select the Apps option.
-
In the left-hand menu of the Apps pane, select the macOS option in the
By platform section.

-
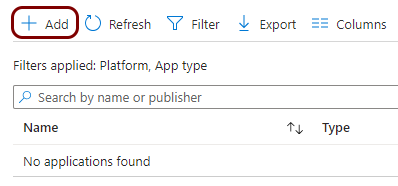
In the macOS | macOS apps pane, click on the Create button.
-
In the Select app type pane, in the App type field, select the
macOS app (PKG) option, and click on the Select button
below.
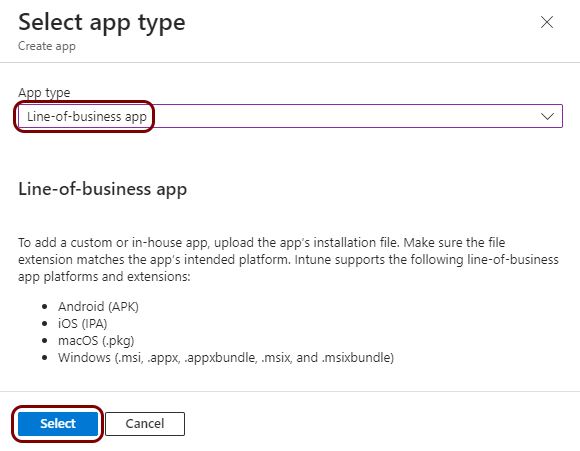 Important:Microsoft still supports the Line-of-business app option for macOS but they recommend using the newer PKG option instead.
 -
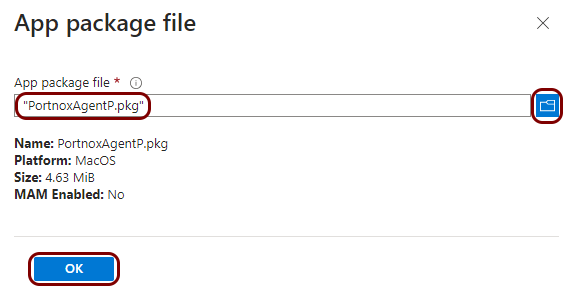
In the Add App pane, click on the Select app package file link.

-
In the Add package file pane, click on the 🗀 icon
to open a file dialog, select the package file that you downloaded earlier, and click on the
OK button.
-
In the Add App pane, in the App information step of the wizard:
-
In the Publisher field, type the name that you want to appear in the Company Portal
as the name of the publisher, for example, Portnox.

-
In the Publisher field, type the name that you want to appear in the Company Portal
as the name of the publisher, for example, Portnox.
-
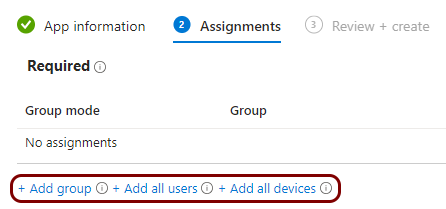
In the Assignments step of the wizard, use relevant options to assign this profile to
specific groups or all users/devices, and then click on the Next button.
Get issuer information from Portnox Cloud
In this task, you will copy the issuer name from the Portnox™ Cloud portal, so you can use it later when creating a configuration script for AgentP.
-
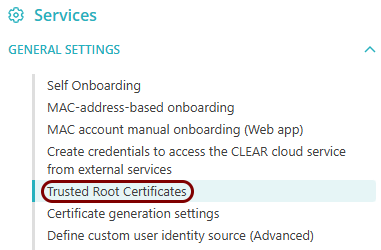
In the Cloud portal top menu, click on the Settings option.

-
In the Cloud portal left-hand side menu, click on the option.
-
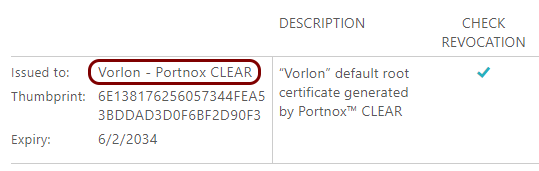
In the Trusted Root Certificates section, copy the value of the Issued
to field in this section to a text file.
Create an AgentP configuration script in Intune
In this task, you will prepare a script that creates an AgentP configuration file on the managed device.
-
In the left-hand menu, select the Devices option.
-
In the left-hand menu of the Devices pane, select the macOS option in
the By platform section.
-
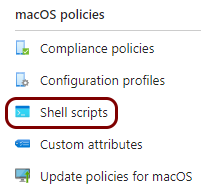
In the left-hand menu of the macOS | macOS devices pane, select the Shell
scripts option in the macOS policies section.
-
In the macOS | Shell scripts pane, click on the Add button.

-
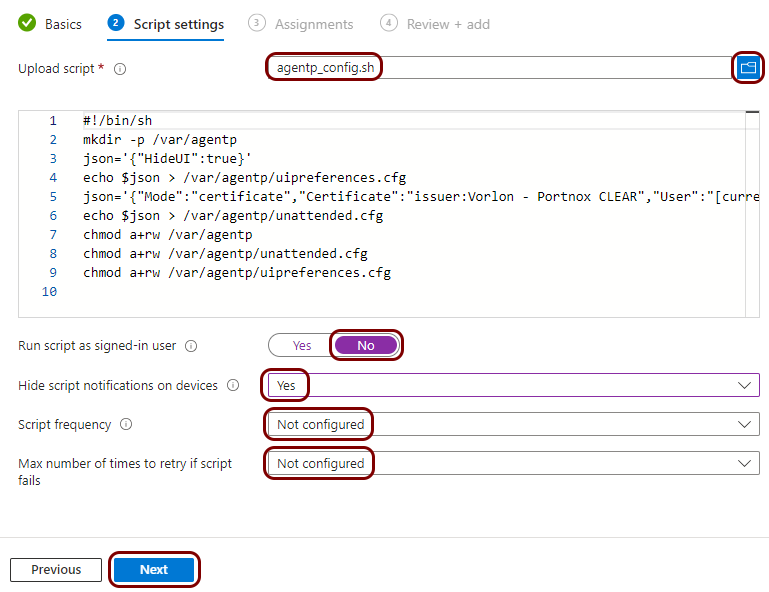
In the Basics step of the Add script wizard, in the
Name field, type a name for this profile, optionally fill in the
Description field, and click on the Next button.

In this example, we used the name Portnox AgentP Configuration, but you can use any name you like.
-
In the Script settings step of the Add script wizard:
-
In the Assignments step of the wizard, use relevant options to assign this profile to
specific groups or all users/devices, and then click on the Next button.
Result: When onboarding a macOS device, Intune will obtain a SCEP certificate and install AgentP with the configuration delivered by the script, which disables AgentP certificate management and leaves only the risk assessment functionality running.