Integrate SOTI ONE with Zero Trust Network Access
In this topic, you will find general instructions on how to integrate SOTI ONE with Portnox™ Zero Trust Network Access.
Create a Portnox Cloud application configuration
In this step, you will create a configuration in Portnox Cloud that will contain all the information necessary to integrate with SOTI ONE.
-
In the Cloud portal top menu, click on the Zero Trust Resources option.

-
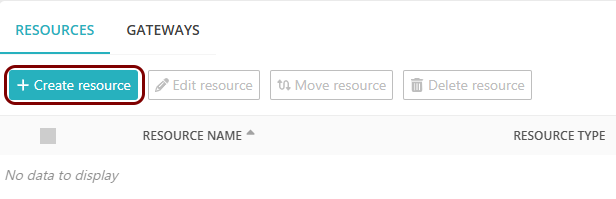
On the Resources screen, click on the Create resource button.
-
In the Authentication protocol section, select the SAML
option.
-
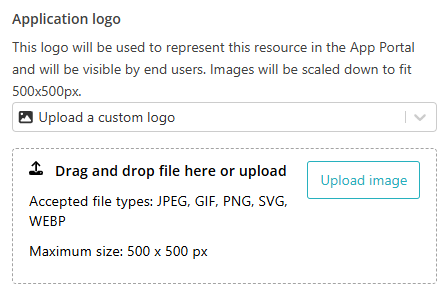
In the Application logo section, select one of the logos from the list, or select
the Upload a custom logo option and then click on the Upload
image button to upload a logo for the application.
The logo is used in the Secure Access Portal.
-
In the Authentication protocol section, select the SAML
option.
-
In the Resource details section, enter a Resource
name and optionally a Description.

In this example, we used the name SOTI for the new application configuration but you can use any name you like.
Create a directory/IdP in SOTI ONE
In this section, you will create a directory in SOTI ONE for SAML integration with an identity provider (IdP).
-
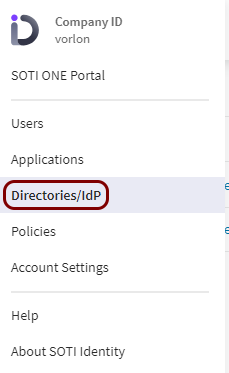
In your SOTI ONE dashboard, click on the ≡ icon in the top-left
corner, and then select the Directories/IdP option from the menu.
-
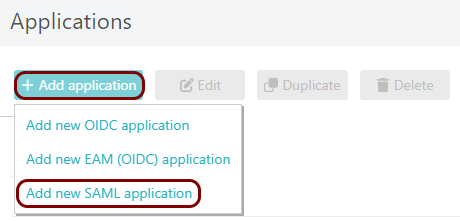
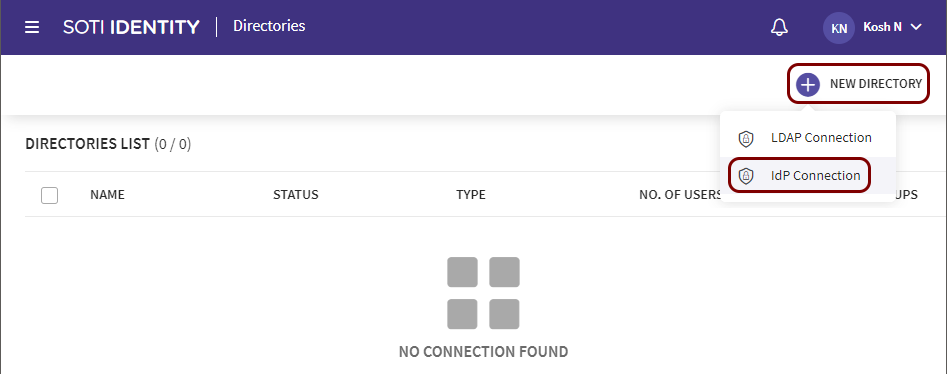
In the Directories pane, click on the NEW DIRECTORY button and select
the IdP Connection option.
-
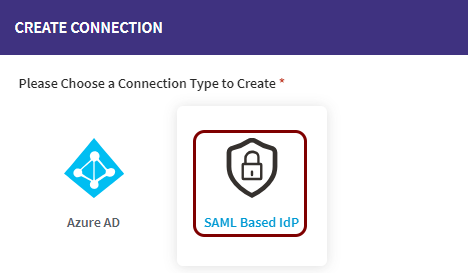
In the CREATE CONNECTION window, click on the SAML Based IdP
option.
-
In the CONFIGURE IDP window:
-
In the Name field, enter the name for this directory.
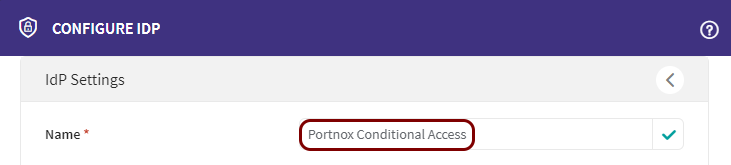
In this example, we used the name Portnox Conditional Access, but you can use any name you like.
-
In the Domain section, click on the Select From Existing
field and select your company domain.
 Note:All users with email addresses in this domain will be logged in using Zero Trust Network Access and will be managed using the identity provider’s directory, not the primary SOTI ONE user directory. We recommend to have at least one administrative service user account with a different domain to be able to log in to SOTI ONE in case of problems with the configuration.
 -
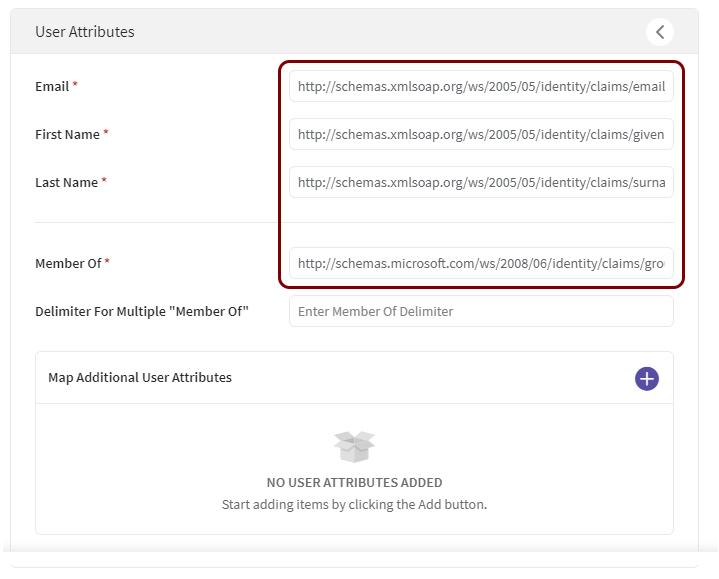
In the User Attributes section, enter the name of the attributes as configured in
your identity provider.
These attributes will be used by SOTI ONE to create user accounts on the basis of the attributes/claims sent by your configured identity provider. Every identity provider has different default values. For example, in Entra ID, the default claims for a new SAML application are http://schemas.xmlsoap.org/ws/2005/05/identity/claims/emailaddress, http://schemas.xmlsoap.org/ws/2005/05/identity/claims/givenname, http://schemas.xmlsoap.org/ws/2005/05/identity/claims/surname, and http://schemas.microsoft.com/ws/2008/06/identity/claims/groups, but in Google Workspace, the only default value is NameID and you need to create custom attributes for a new SAML app.
-
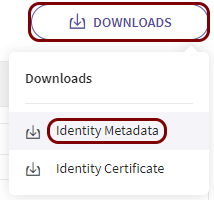
Click on the Downloads button and select the Identity
Metadata option.
You will need this metadata file later to copy the configuration values to the Portnox tab.
-
In the Name field, enter the name for this directory.
Export metadata from the Portnox tab and upload it in the SOTI tab
In this section, you will export the metadata from Portnox Cloud into a file and import that file with SOTI ONE.
-
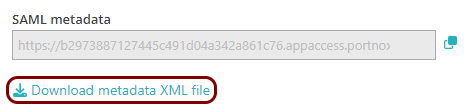
In the Portnox tab, in the SAML metadata section, click on the Download metadata
XML file link to download the XML file and save it to your local drive.
-
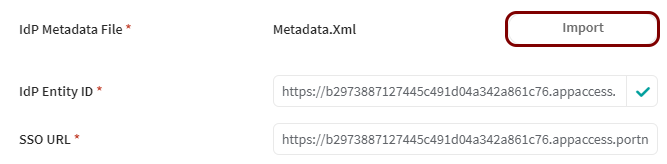
In the SOTI tab, click on the Import button in the IdP Metadata File
section, and then upload the XML file downloaded from Portnox Cloud.
Copy the configuration values from the metadata file to the Portnox tab
In this section, you will copy the configuration values stored in the downloaded metadata file and paste them in the relevant fields in Portnox Cloud.
-
In the metadata content, find the <md:EntityDescriptor> element and its
entityID attribute, and then copy its value (without the quotes) using your operating
system’s copy shortcut.

-
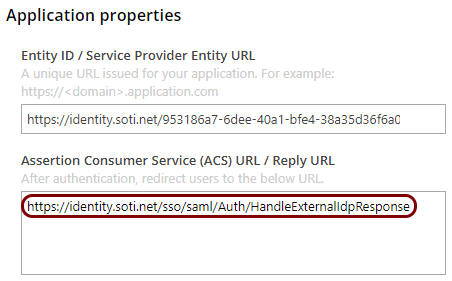
In the Portnox tab, in the Resource properties section, click on the empty field under the
Entity ID / Service Provider Entity URL heading and paste the copied value.

-
In the metadata content, find the <md:AssertionConsumerService> element with the
Binding="urn:oasis:names:tc:SAML:2.0:bindings:HTTP-POST" attribute. Copy the value of its
Location attribute (without the quotes).

-
In the Portnox tab, in the Resource properties section, click on the empty field under the
Assertion Consumer Service (ACS) URL / Reply URL heading and paste the copied
value.
Finalize the configuration
In this section, you will finalize the configuration in Portnox Cloud and SOTI ONE.
-
Finalize the configuration in the Portnox tab.
-
Click on the OPTIONAL SETTINGS link to show
additional fields, and then in the Application Login URI field, enter the
following value:
https://your_tenant.identity.soti.net.Note:This step is required if you want to show this application in the ZTNA Secure Access Portal.
-
Scroll all the way down to the end of the page, and then click on the Add resource
button.

-
Click on the OPTIONAL SETTINGS link to show
additional fields, and then in the Application Login URI field, enter the
following value:
-
Finalize the configuration in the SOTI tab.
-
Click on the Create button to create the directory in SOTI.
-
In your SOTI ONE dashboard, click on the ≡ icon in the
top-left corner, and then select the Users option from the menu.

-
In the Directory selector, select the directory/IdP that you created earlier in SOTI
ONE.

-
In the top-right corner, click on the NEW USER GROUP button.

-
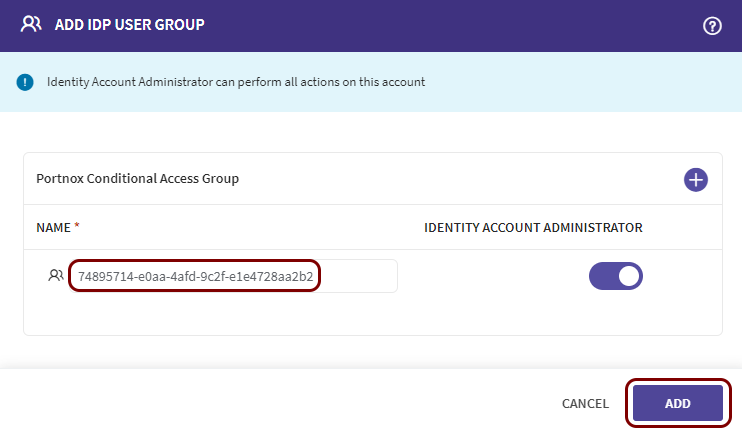
In the ADD IDP USER GROUP window, click on the + icon, enter the group NAME, optionally activate
the IDENTITY ACCOUNT ADMINISTRATOR switch (if applicable), and click on the
ADD button.
Note:If you use the user.groups claim in Entra ID, in the NAME field, enter the group’s Object ID, not the human-readable Entra ID Name.
 Note:All users from your selected domain who are assigned to this group in your identity provider will be authorized to use SOTI ONE. You may want to create at least two groups, one with administrative access and the other for regular users.
-
Click on the Create button to create the directory in SOTI.
Result: You have configured SOTI ONE to be accessible using Portnox Zero Trust Network Access.