
Integrate Juniper Mist with Zero Trust Network Access
In this topic, you will find general instructions on how to integrate Juniper Mist with Portnox™ Zero Trust Network Access.
Create a Portnox Cloud application configuration
In this step, you will create a configuration in Portnox Cloud that will contain all the information necessary to integrate with Mist.
-
In the Cloud portal top menu, click on the Zero Trust Resources option.

-
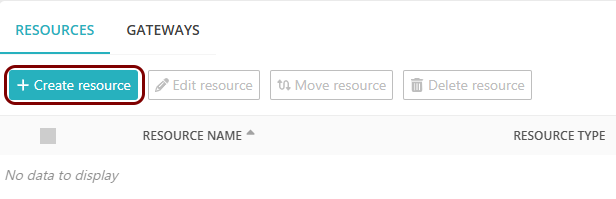
On the Resources screen, click on the Create resource button.
-
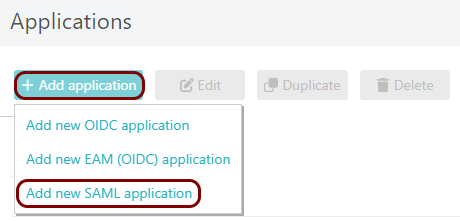
In the Authentication protocol section, select the SAML
option.
-
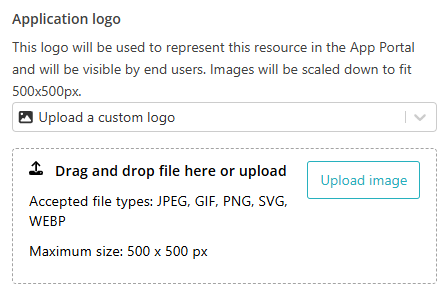
In the Application logo section, select one of the logos from the list, or select
the Upload a custom logo option and then click on the Upload
image button to upload a logo for the application.
The logo is used in the Secure Access Portal.
-
In the Authentication protocol section, select the SAML
option.
-
In the Resource details section, enter a Resource
name and optionally a Description.
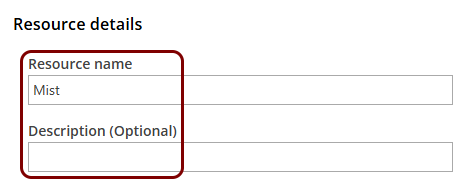
In this example, we used the name Mist for the new application configuration but you can use any name you like.
Modify your identity provider configuration to support Mist roles
Mist grants dashboard access based on a role attribute in the SAML assertion. You must change your existing identity provider configuration or create a copy of the identity provider configuration especially for Mist.
-
If you use an Entra ID IdP configuration, in another browser tab,
open the Entra ID SAML application that you created earlier and do the following steps.
-
Click on the Add a group claim button. In the Group Claims
pane, select Groups assigned to the application, set Source
attribute to Group ID, in the Advanced options
section, activate the Customize the name of the group claim checkbox and type
Role, and then click on the Save button.
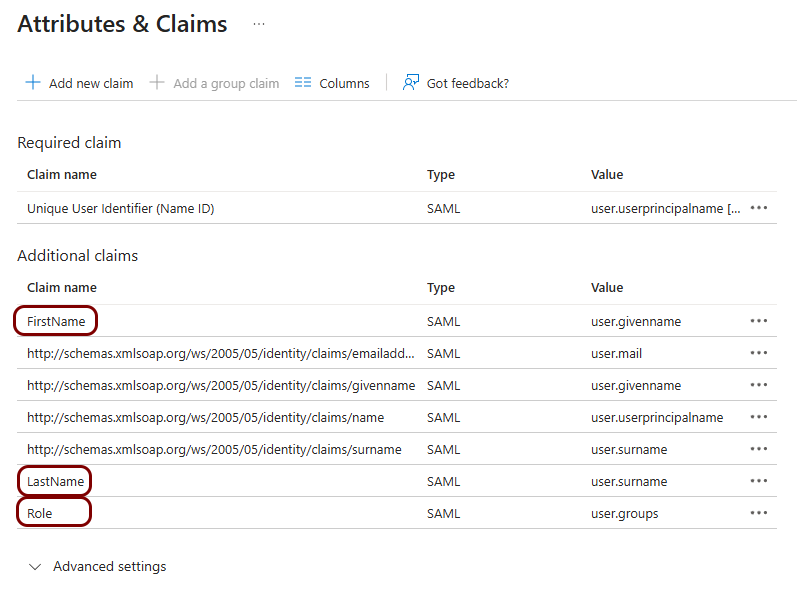
-
Click on the Add a group claim button. In the Group Claims
pane, select Groups assigned to the application, set Source
attribute to Group ID, in the Advanced options
section, activate the Customize the name of the group claim checkbox and type
Role, and then click on the Save button.
-
If you use Google Workspace, open your admin console and do the following steps.
-
In the Group membership (optional) section, select the Google groups that you want
to have access to Mist, and in the App attribute field, type
Role. Then, click on the Save button.
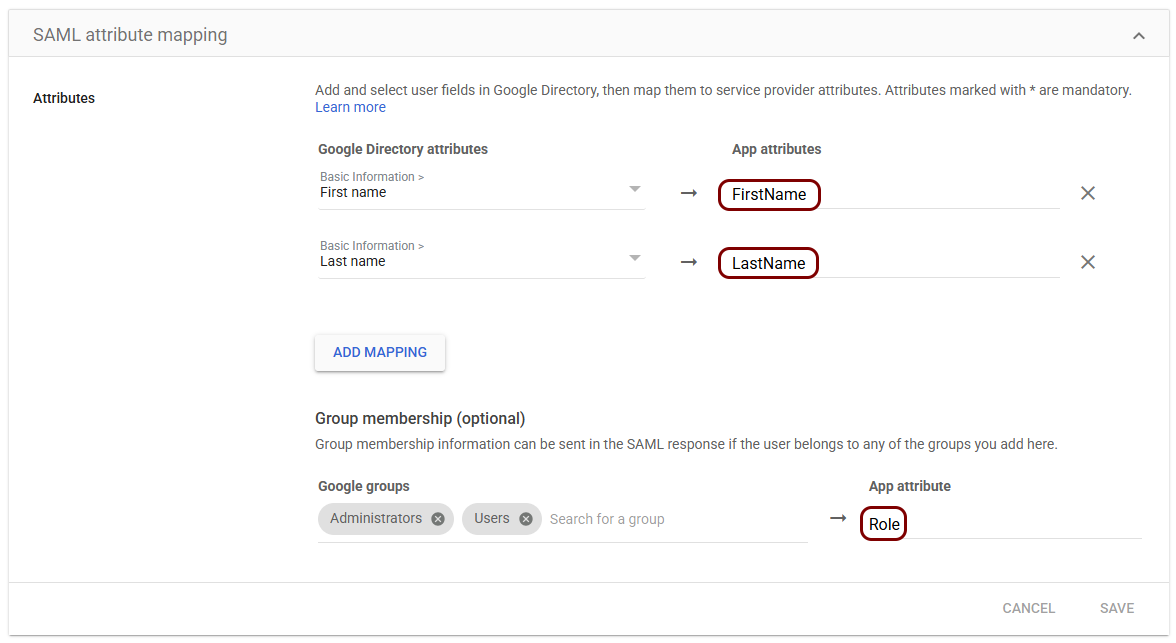
-
In the Group membership (optional) section, select the Google groups that you want
to have access to Mist, and in the App attribute field, type
Role. Then, click on the Save button.
Create Mist roles
In this section, you will create roles in Mist that match the role values sent by your identity provider.
-
In the left-hand side menu, click on the Organization option, and then, in the menu that
opens, click on the Settings option.
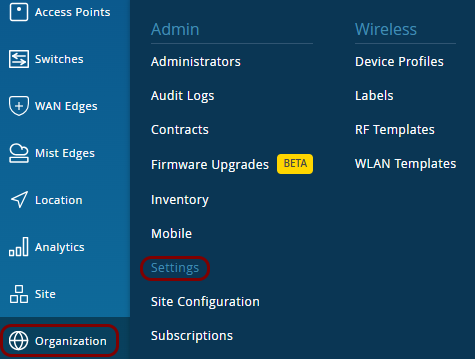
-
In the Roles section, click on the Create Role button.
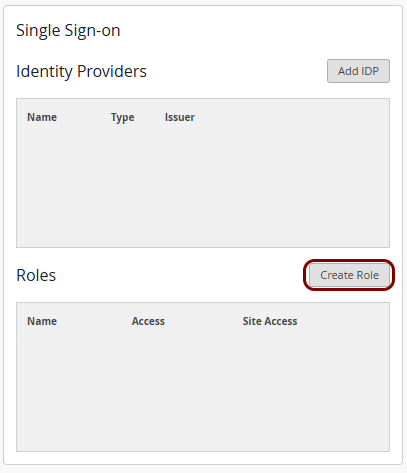
-
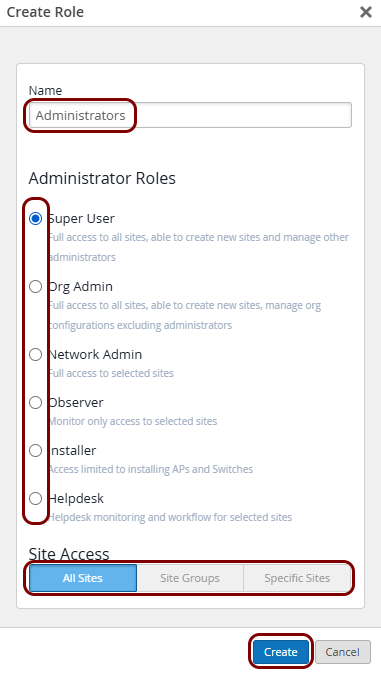
In the Create Role window, in the Name field, enter the role name
exactly as sent by your identity provider. Then, select the option that matches the level of access this role should
have, select the sites the role should have access to, and click on the Create button.
-
Repeat the previous three steps for every role that your identity provider can send.
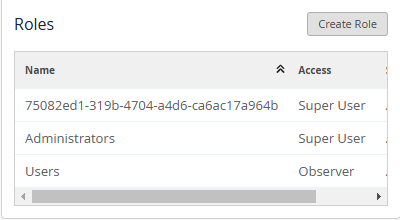 Note:The screenshot shows example roles from both Entra ID and Google Workspace. The Entra ID role is identified by the object ID, while the Google Workspace role is identified by the group name.
Create an IDP in Mist
In this section, you will access your Mist organization settings and create a new identity provider.
-
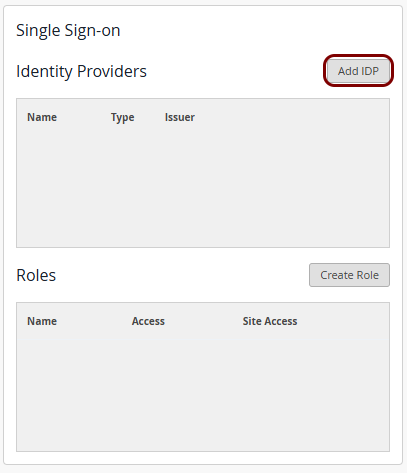
In the Mist tab, in the Single Sign-on section, in the Identity
Providers pane, click on the Add IDP button.
-
In the Add Identity Provider window, in the Name field, enter a name
for this identity provider, and then click on the Add button.
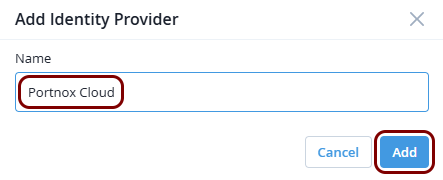
Result: The window changes to Create Identity Provider and shows more fields. Mist also generates the ACS URL and Single Logout URL values automatically.
Copy configuration values from the Portnox tab to the Mist tab
In this section, you will copy the values displayed by Portnox Cloud and paste them in the relevant fields in the Create Identity Provider window in Mist.
-
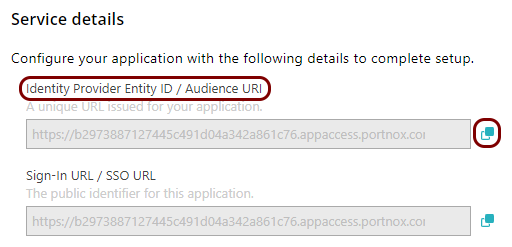
In the Portnox tab, in the Service details section, click on the ⧉ icon next to the Identity Provider Entity ID / Audience
URI field to copy the value.
-
In the Mist tab, click on the empty field next to the Issuer label and paste the value
copied from Portnox Cloud.

-
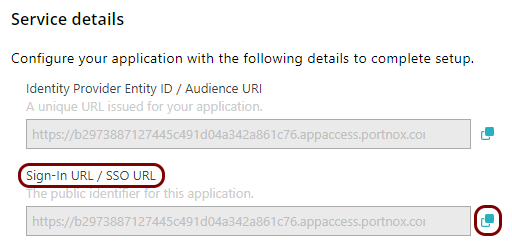
In the Portnox tab, in the Service details section, click on the ⧉ icon next to the Sign-In URL / SSO URL field to copy the
value.
-
In the Mist tab, click on the empty field next to the SSO URL label and paste the value
copied from Portnox Cloud.

-
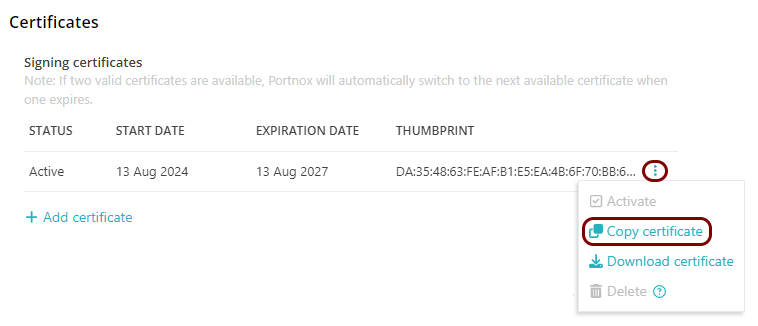
In the Portnox tab, in the section, click on the ⋮ icon next to the
Active certificate and select the Copy certificate option to copy
the certificate.
-
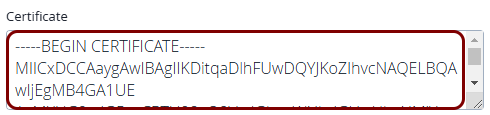
In the Mist tab, click on the empty field under the Certificate label and paste the value
copied from Portnox Cloud.
Copy configuration values from the Mist tab to the Portnox tab
In this section, you will copy the value displayed in the Mist identity provider configuration and paste it in the relevant fields in Portnox Cloud.
-
In the Mist tab, click on the ⧉ icon next to the ACS
URL field to copy the value to the clipboard.

-
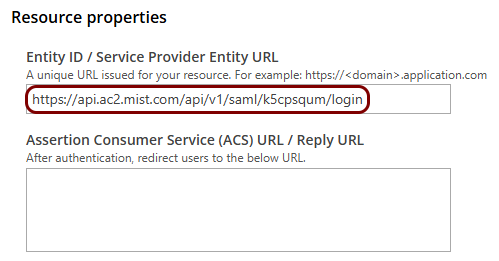
In the Portnox tab, in the Resource properties section, click on the empty field under the
Entity ID / Service Provider Entity URL heading and paste the value copied from
Mist.
-
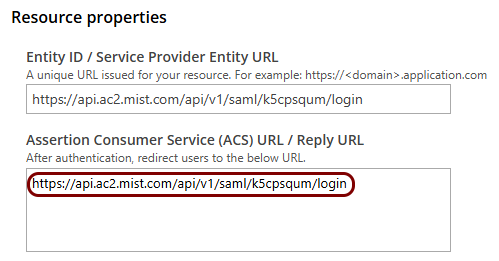
Click on the empty field under the Assertion Consumer Service (ACS) URL / Reply URL heading
and paste the same value.
Finalize the configuration
In this section, you will finalize the configuration in Portnox Cloud and Mist.
-
Finalize the configuration in the Portnox tab.
-
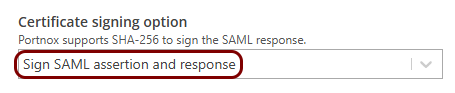
In the Portnox tab, click on the OPTIONAL SETTINGS link to show additional fields,
and then in the Certificate signing option field, select the Sign SAML
assertion and response option.
-
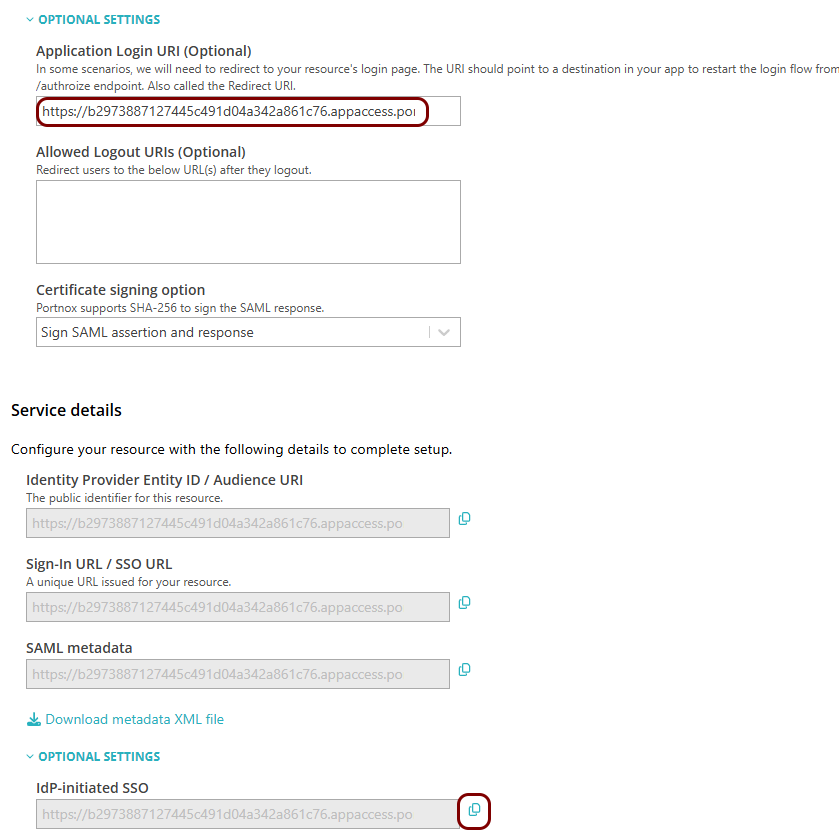
In the Application Login URI field, enter the same value as the
IdP-initiated SSO URL from the Service details section,
instead of a direct Mist URL.
Note:This step is required if you want to show this application in the ZTNA Secure Access Portal.Warning:If users don’t use the ZTNA Secure Access Portal and instead enter the Mist dashboard address directly in their browser for their first ever ZTNA login, that login fails. Mist requires the first login to be IdP-initiated. After users complete their first login through the portal, the plain dashboard address works for them from then on. Alternatively, you can use the dashboard URL in this field, but then you must send users the IdP-initiated SSO URL and instruct them to use it for their first login. After that, they can use the portal.
-
Scroll all the way down to the end of the page, and then click on the Add resource
button.
-
In the Portnox tab, click on the OPTIONAL SETTINGS link to show additional fields,
and then in the Certificate signing option field, select the Sign SAML
assertion and response option.
-
Finalize the configuration in the Mist tab.
-
Click on the Save button in the Create Identity Provider
window.
 Important:Test your login with Portnox Zero Trust Network Access in an incognito or private browser window before you rely on it. If the configuration is wrong, you could lock yourself out of Mist.Note:If a user signing in through SSO already exists as a local Mist account, Mist does not log the user in directly. Instead, it redirects the user to the Mist login page.
-
Click on the Save button in the Create Identity Provider
window.
Result: You have configured Mist to be accessible using Portnox Zero Trust Network Access.