
Integrate Sophos Fusion with Zero Trust Network Access
In this topic, you will find instructions on how to integrate Sophos Fusion with Portnox™ Zero Trust Network Access using OpenID Connect (OIDC).
To complete this integration, you need:
-
A Sophos Fusion administrator account with the Super Admin role.
-
Access to the public DNS settings of the domain used by your Sophos Fusion administrators.
-
An OIDC identity provider configured in Portnox Cloud, for example: Entra ID with OIDC, Google Workspace with OIDC, or Okta with OIDC.
Create a Portnox Cloud resource configuration
In this section, you will create a configuration in Portnox Cloud that will contain all the information necessary to integrate with Sophos Fusion.
-
In the Cloud portal top menu, click on the Zero Trust Resources option.

-
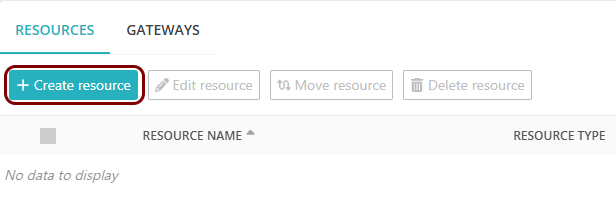
On the Resources screen, click on the Create resource button.
-
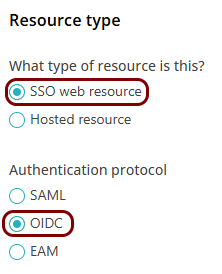
In the Authentication protocol section, select the OIDC
option.
-
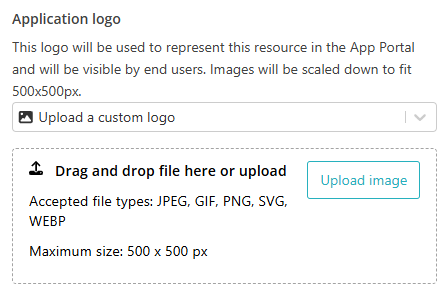
In the Application logo section, select one of the logos from the list, or select
the Upload a custom logo option and then click on the Upload
image button to upload a logo for the application.
The logo is used in the Secure Access Portal.
-
In the Authentication protocol section, select the OIDC
option.
-
In the Resource details section, enter a Resource
name and optionally a Description.
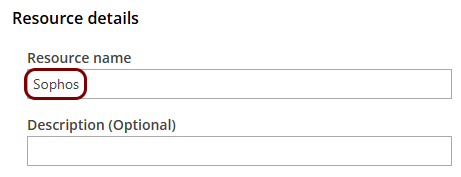
In this example, we used the name Sophos for the new resource, but you can use any name you like.
-
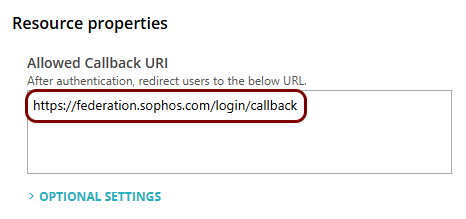
In the Resource properties section, in the Allowed Callback URI field,
enter the following value: https://federation.sophos.com/login/callback.
Verify your domain in Sophos Fusion
In this section, you will prove to Sophos Fusion that you own the domain used by your Sophos Fusion administrators.
-
In the top-right corner, click on the ⚙ icon.

-
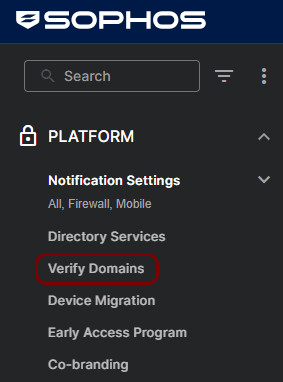
In the left-hand side menu, in the PLATFORM section, click on the Verify
Domains option.
-
On the Verify domains screen, click on the Add domain button.
-
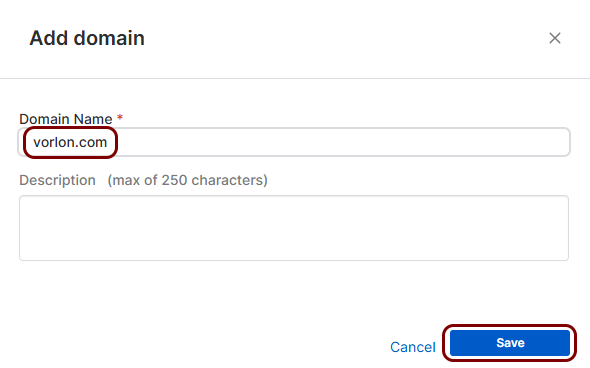
In the Add domain window, enter your domain in the Domain Name field
and optionally a Description. Then, click on the Save button.
-
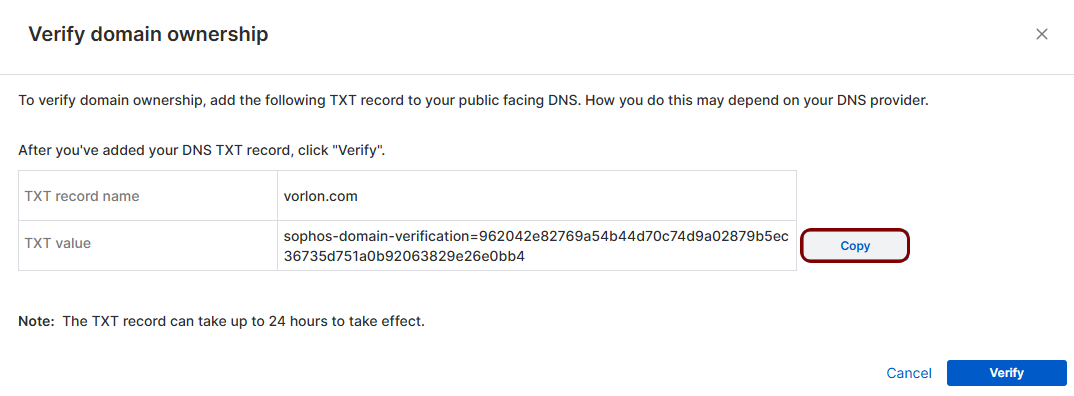
In the Verify domain ownership window, click on the Copy button next to
the TXT value field.
-
In the Sophos tab, click on the Verify button.
If the DNS record has not propagated yet, click on the Cancel button. The domain stays on the list. When the record propagates, click on the Verify domain ownership link in the Verification Status column, and then click on the Verify button.
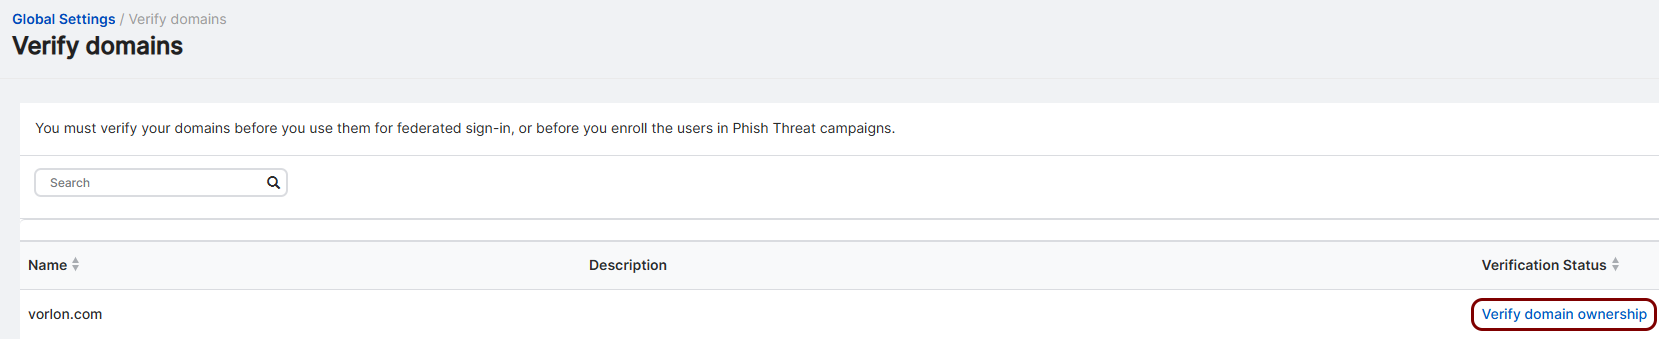
The Verification Status column shows Verified and the date.
Add Portnox as an identity provider in Sophos Fusion
In this section, you will create an OpenID Connect identity provider in Sophos Fusion and copy values from Portnox Cloud into it.
-
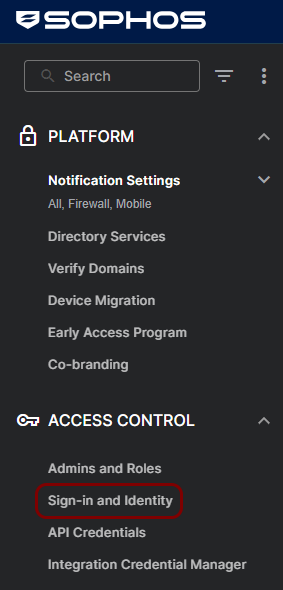
In the Sophos tab, in the left-hand side menu, in the ACCESS CONTROL section, click on the
Sign-in and Identity option.
-
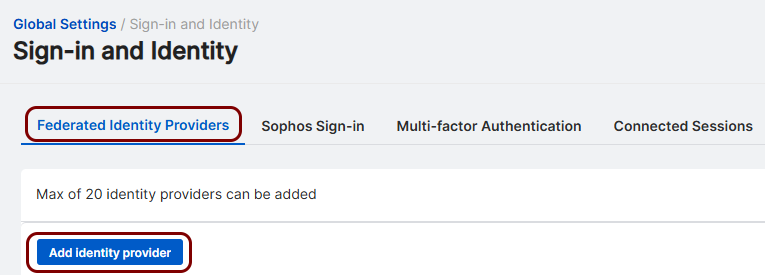
On the Federated Identity Providers tab, click on the Add identity
provider button.
-
In the Add identity provider window, configure the following settings:
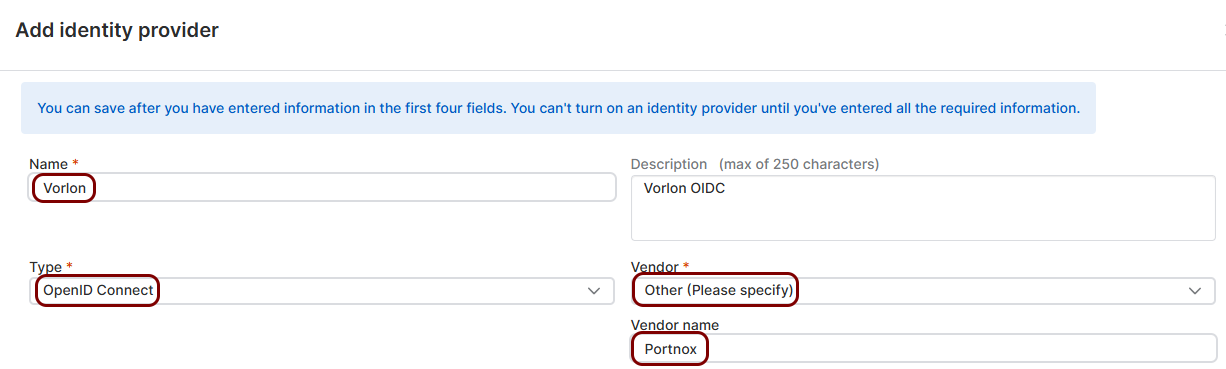
- In the Name field, enter a name for the identity provider, and optionally a Description.
- In the Type drop-down menu, select the OpenID Connect option.
- In the Vendor drop-down menu, select the Other (Please specify) option.
- In the Vendor name field, enter: Portnox ZTNA.
-
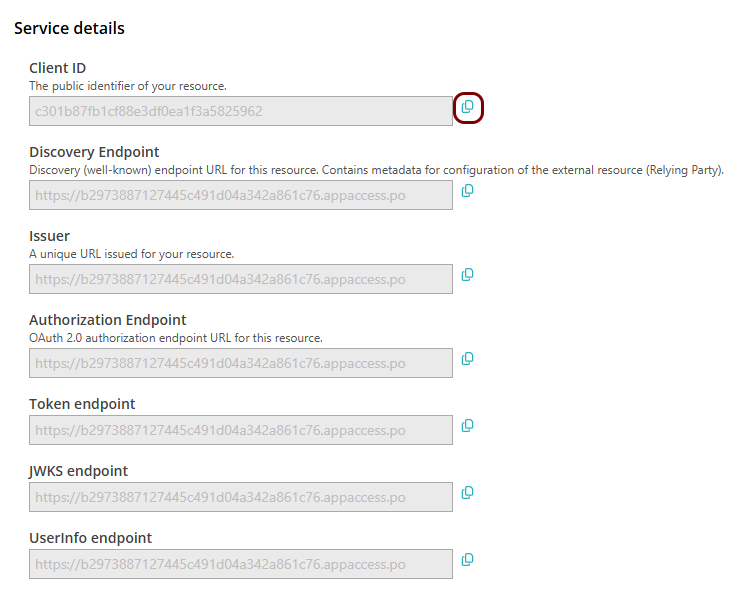
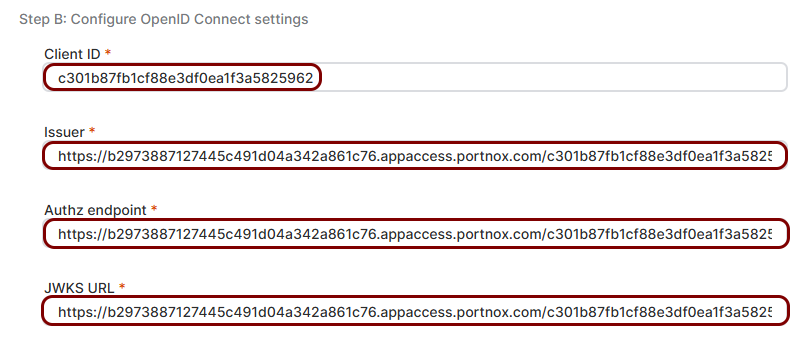
In the Portnox tab, click on the ⧉ icon next to the Client
ID field to copy the value to your clipboard.
-
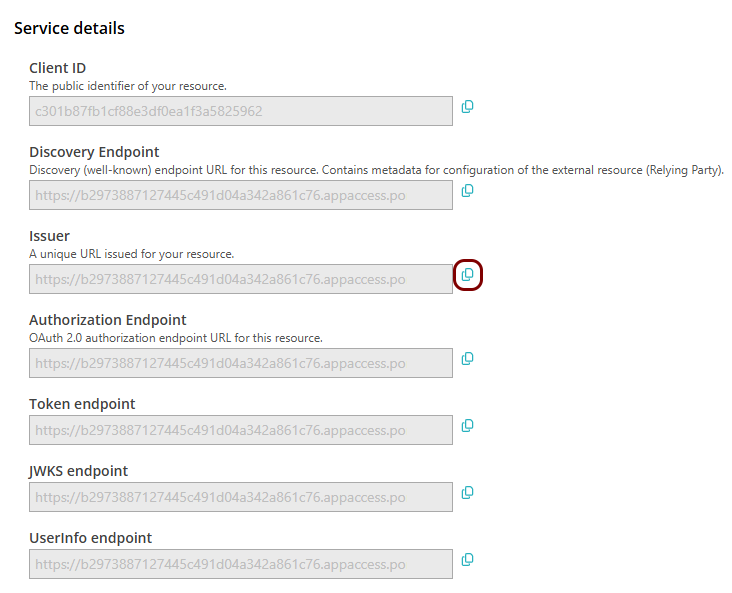
In the Portnox tab, click on the ⧉ icon next to the
Issuer field to copy the value to your clipboard.
-
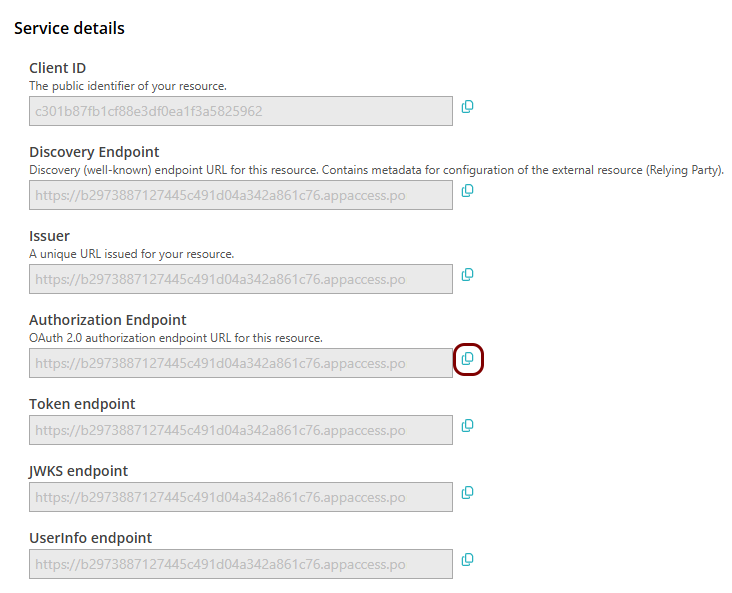
In the Portnox tab, click on the ⧉ icon next to the
Authorization Endpoint field to copy the value to your clipboard.
-
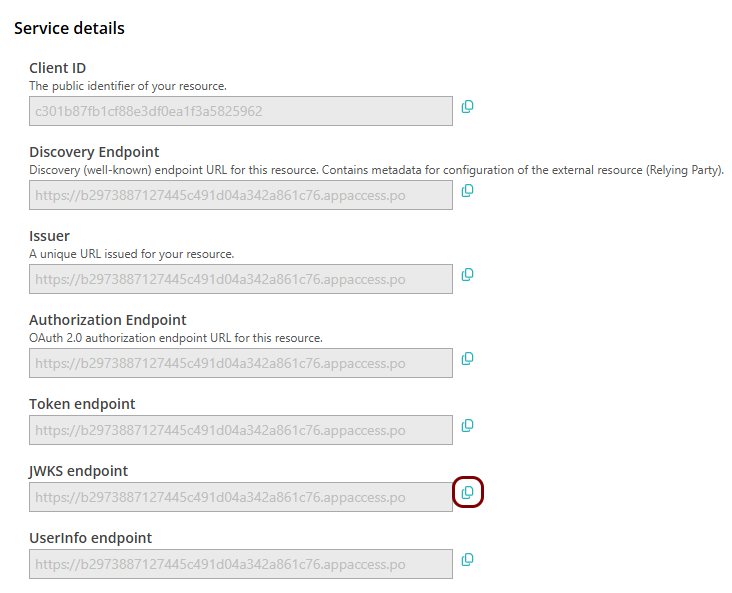
In the Portnox tab, click on the ⧉ icon next to the JWKS
endpoint field to copy the value to your clipboard.
-
In the Sophos tab, paste the copied value into the JWKS URL field.
-
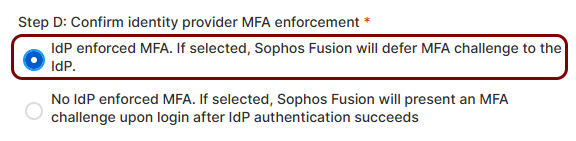
In the Step D: Confirm identity provider MFA enforcement section, select the IdP
enforced MFA option.
With the other option, Sophos Fusion asks users for Sophos Fusion multi-factor authentication after Portnox ZTNA authentication.
Finalize the configuration
In this section, you will finalize the configuration in Portnox Cloud and Sophos Fusion.
-
Finalize the configuration in the Portnox tab.
-
Scroll all the way down to the end of the page, and then click on the Add resource
button.

-
Scroll all the way down to the end of the page, and then click on the Add resource
button.
-
Finalize the configuration in the Sophos tab.
-
In the top-right corner, click on the Turn on button.
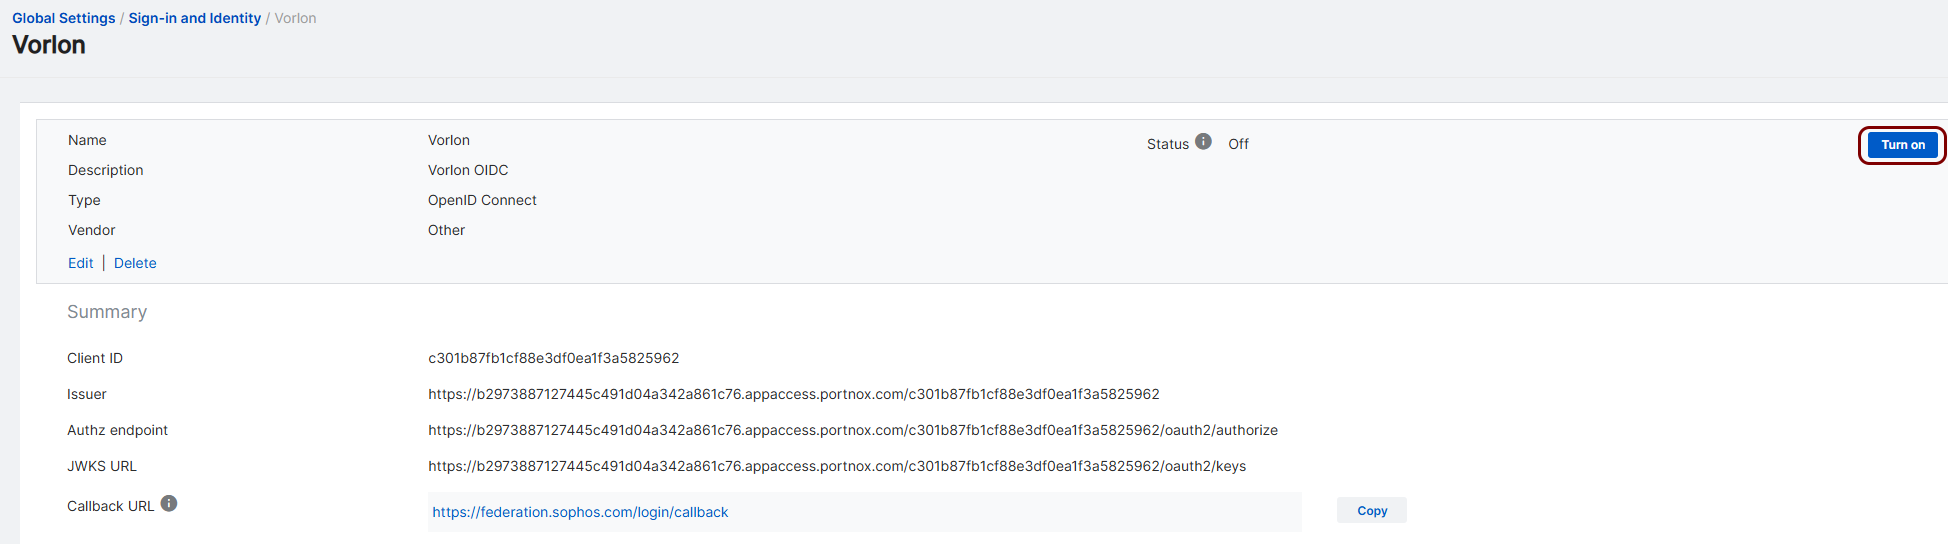
The Status field shows On.
-
In the top-right corner, click on the Turn on button.
Result: You have configured Sophos Fusion to be accessible using Portnox Zero Trust Network Access.