Integrate BILL with Zero Trust Network Access
In this topic, you will find general instructions on how to integrate BILL with Portnox™ Zero Trust Network Access using the conditional access method.
Modify your identity provider configuration to support BILL
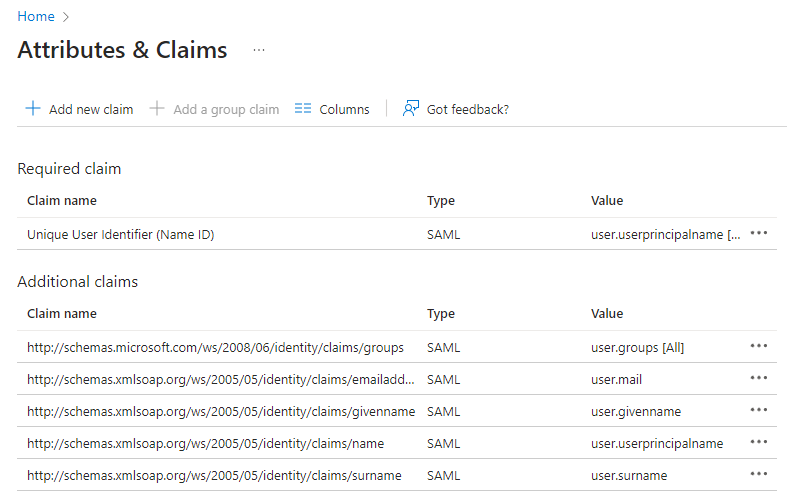
BILL SAML integration requires your identity provider to send specific attributes/claims. We recommend that you check if your identity provider configuration already includes these attributes/claims. You must change your existing identity provider configuration or create a copy of the identity provider configuration especially for BILL.
-
If you use Entra ID, open your Zero Trust Network Access application configuration and do the following
steps.
-
Open the Attributes & Claims pane ().
-
Open the Attributes & Claims pane ().
-
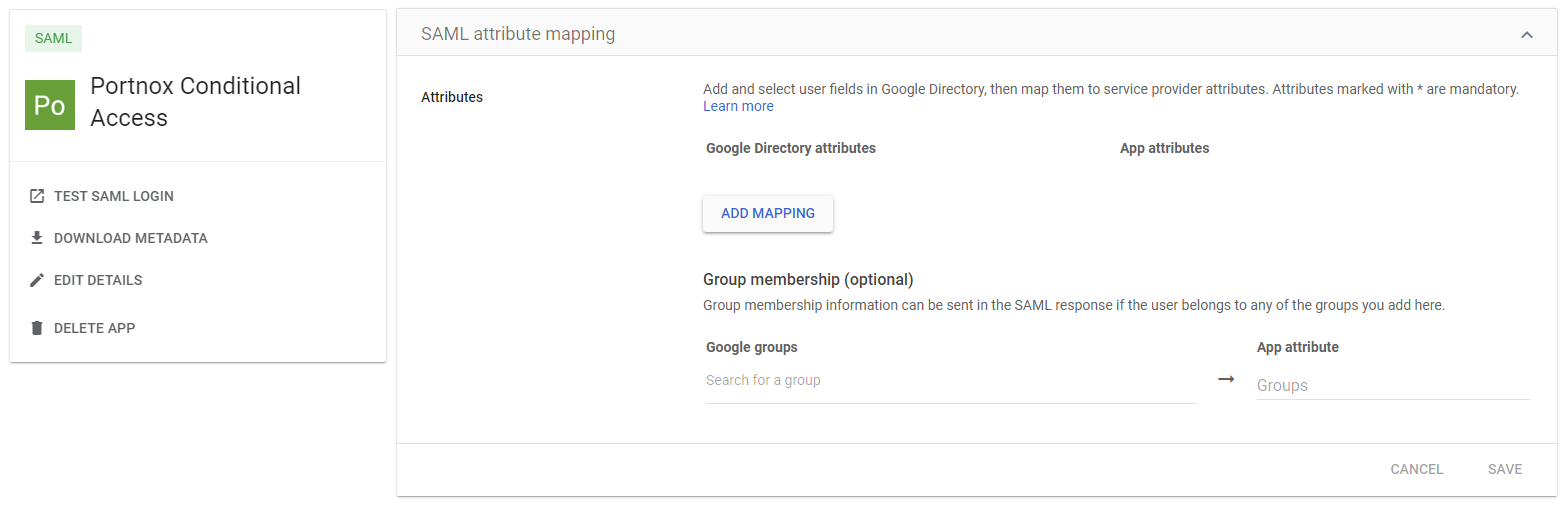
If you use Google Workspace, open your configuration and do the following steps.
-
Open the SAML attribute mapping pane (.
-
Open the SAML attribute mapping pane (.
Create a Portnox Cloud application configuration
In this step, you will create a configuration in Portnox Cloud that will contain all the information necessary to integrate with BILL.
-
In a new tab of your browser, open your Portnox Cloud account by accessing the following URL: https://clear.portnox.com/
From now on, we will call this tab the Portnox tab.
-
In the Cloud portal top menu, click on the Zero Trust Resources option.

-
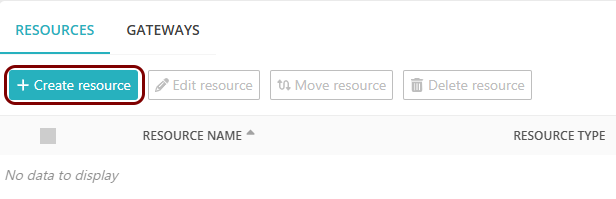
On the Resources screen, click on the Create resource button.
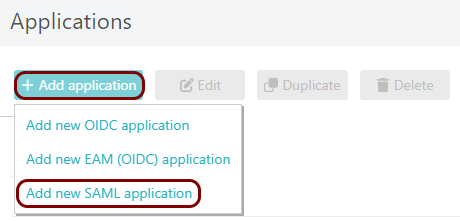
- In the What type of resource is this? section, select the SSO web resource option.
- In the Authentication protocol section, select the SAML option.
- Click on the Next button.
- Optional: If you have more than one SAML identity provider configured, select the identity provider in the Select an identity provider to use for this resource section.
-
In the Resource details section, enter a Resource name and
optionally a Description.
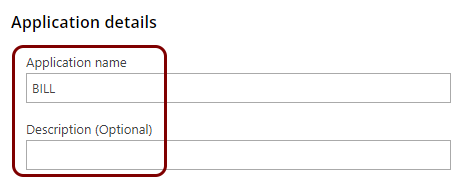
In this example, we used the name BILL for the new application configuration but you can use any name you like.
- Keep this browser tab open. You will need it later.
Exchange configuration values with BILL support
In this section, you will exchange configuration values with BILL support, for example, during a call or via email.
-
In the SAML metadata section, click on the ⧉ icon
next to the text field to copy the value.
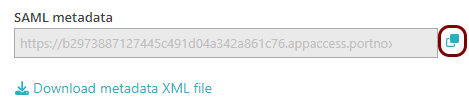
- Provide this value to BILL support.
- Ask BILL support for the audience URI.
-
In the Resource properties section, click on the empty field under the Entity ID
/ Service Provider Entity URL heading and enter the value obtained from BILL support.

This value should have the format: https://www.okta.com/saml2/service-provider/unique_identifier
- Ask BILL support for the assertion consumer service URL.
-
In the Resource properties section, click on the empty field under the Assertion
Consumer Service (ACS) URL / Reply URL heading and enter the value obtained from BILL support.
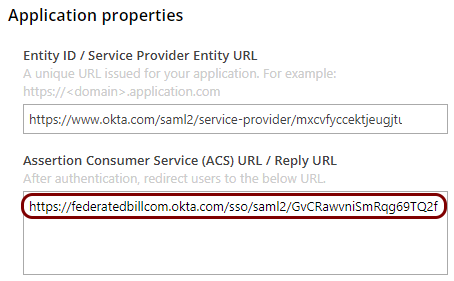
This value should have the format: https://federatedbillcom.okta.com/sso/saml2/unique_identifier
-
Finalize the configuration in the Portnox tab.
-
Scroll all the way down to the end of the page, and then click on the Save and Close
button.

-
Scroll all the way down to the end of the page, and then click on the Save and Close
button.
Result: You have configured BILL to be accessible using Portnox Zero Trust Network Access.